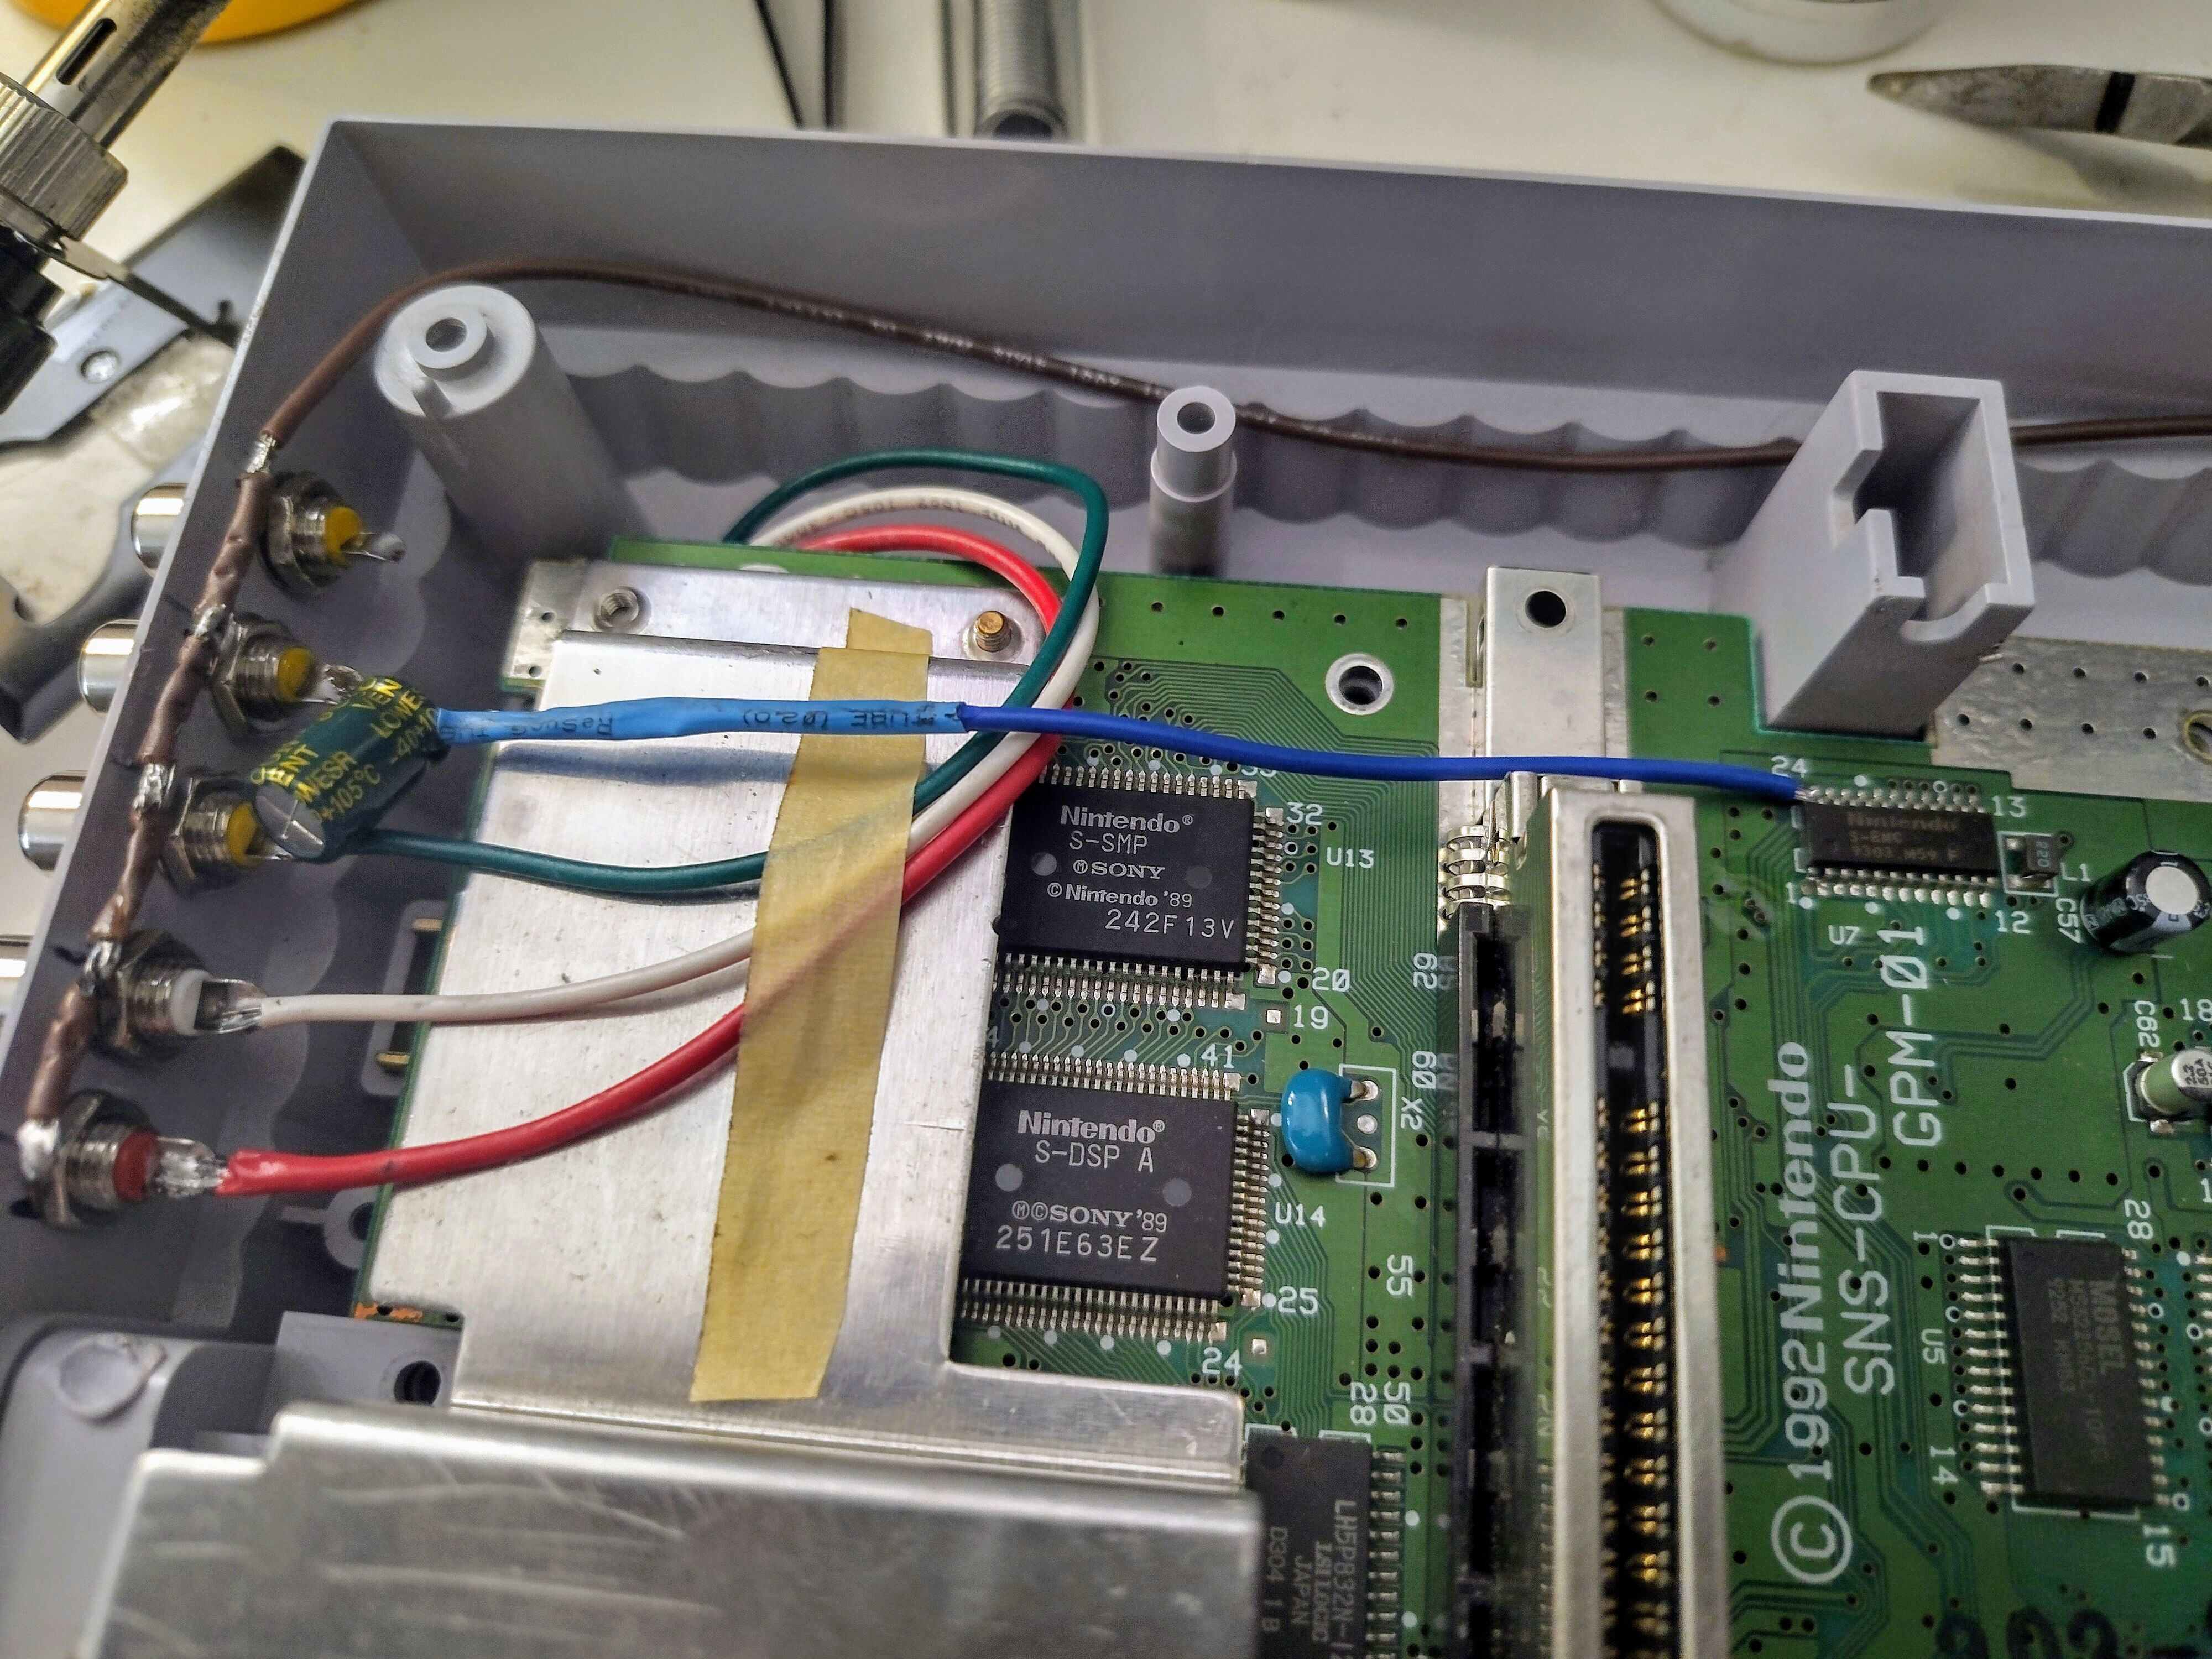
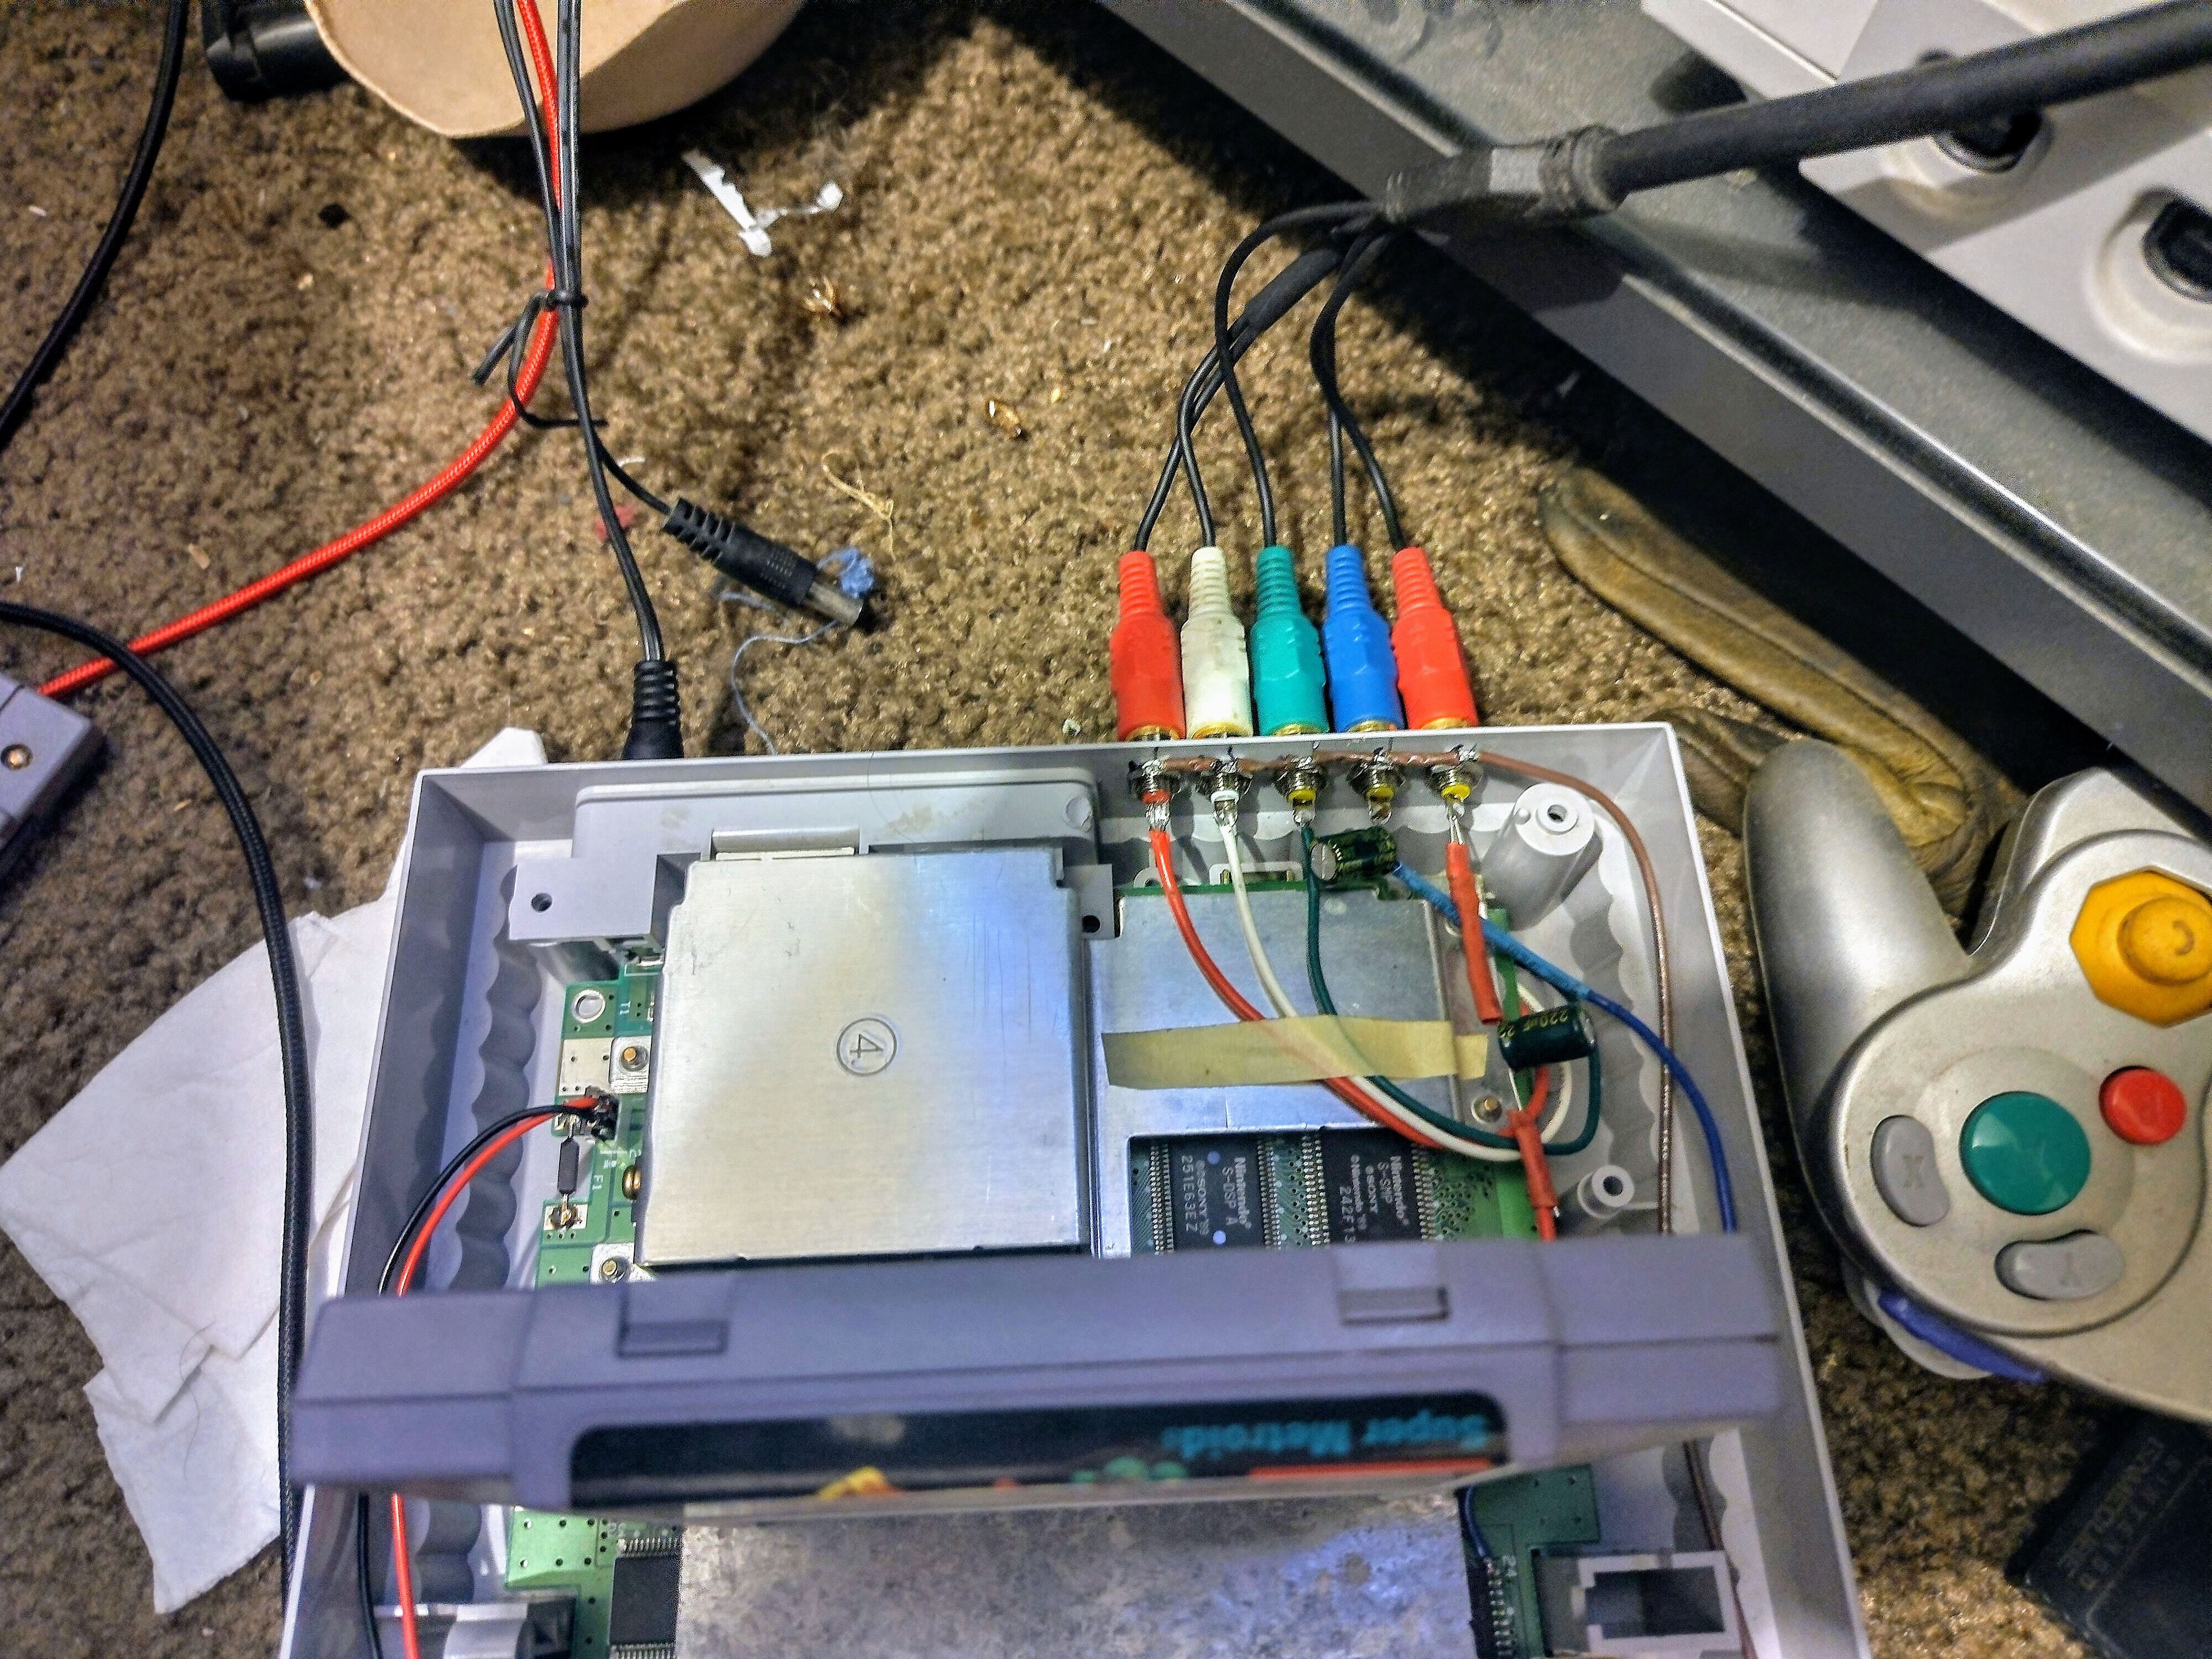
background context : discovered a thread early on that mentioned discovering how the video encoder chip(s) used on early SNES consoles, while not necessarily capable to deliver a clean RGB signal, were capable of delivering a (240p) component compatible output. Frustratingly, after scoring a second console that was a viable candidate, it was like Google was actively gaslighting me, so I couldn’t find the walkthrough or diagrams again. This many years later, another forum helped me out quite a bit to brain trust it. Oddly of all things, best visual reference came from a Reddit thread that mirrored the mod for their own console and showed a nicer way of attaching the wires.
So with that out of the way, here’s how it’s going so far for me.
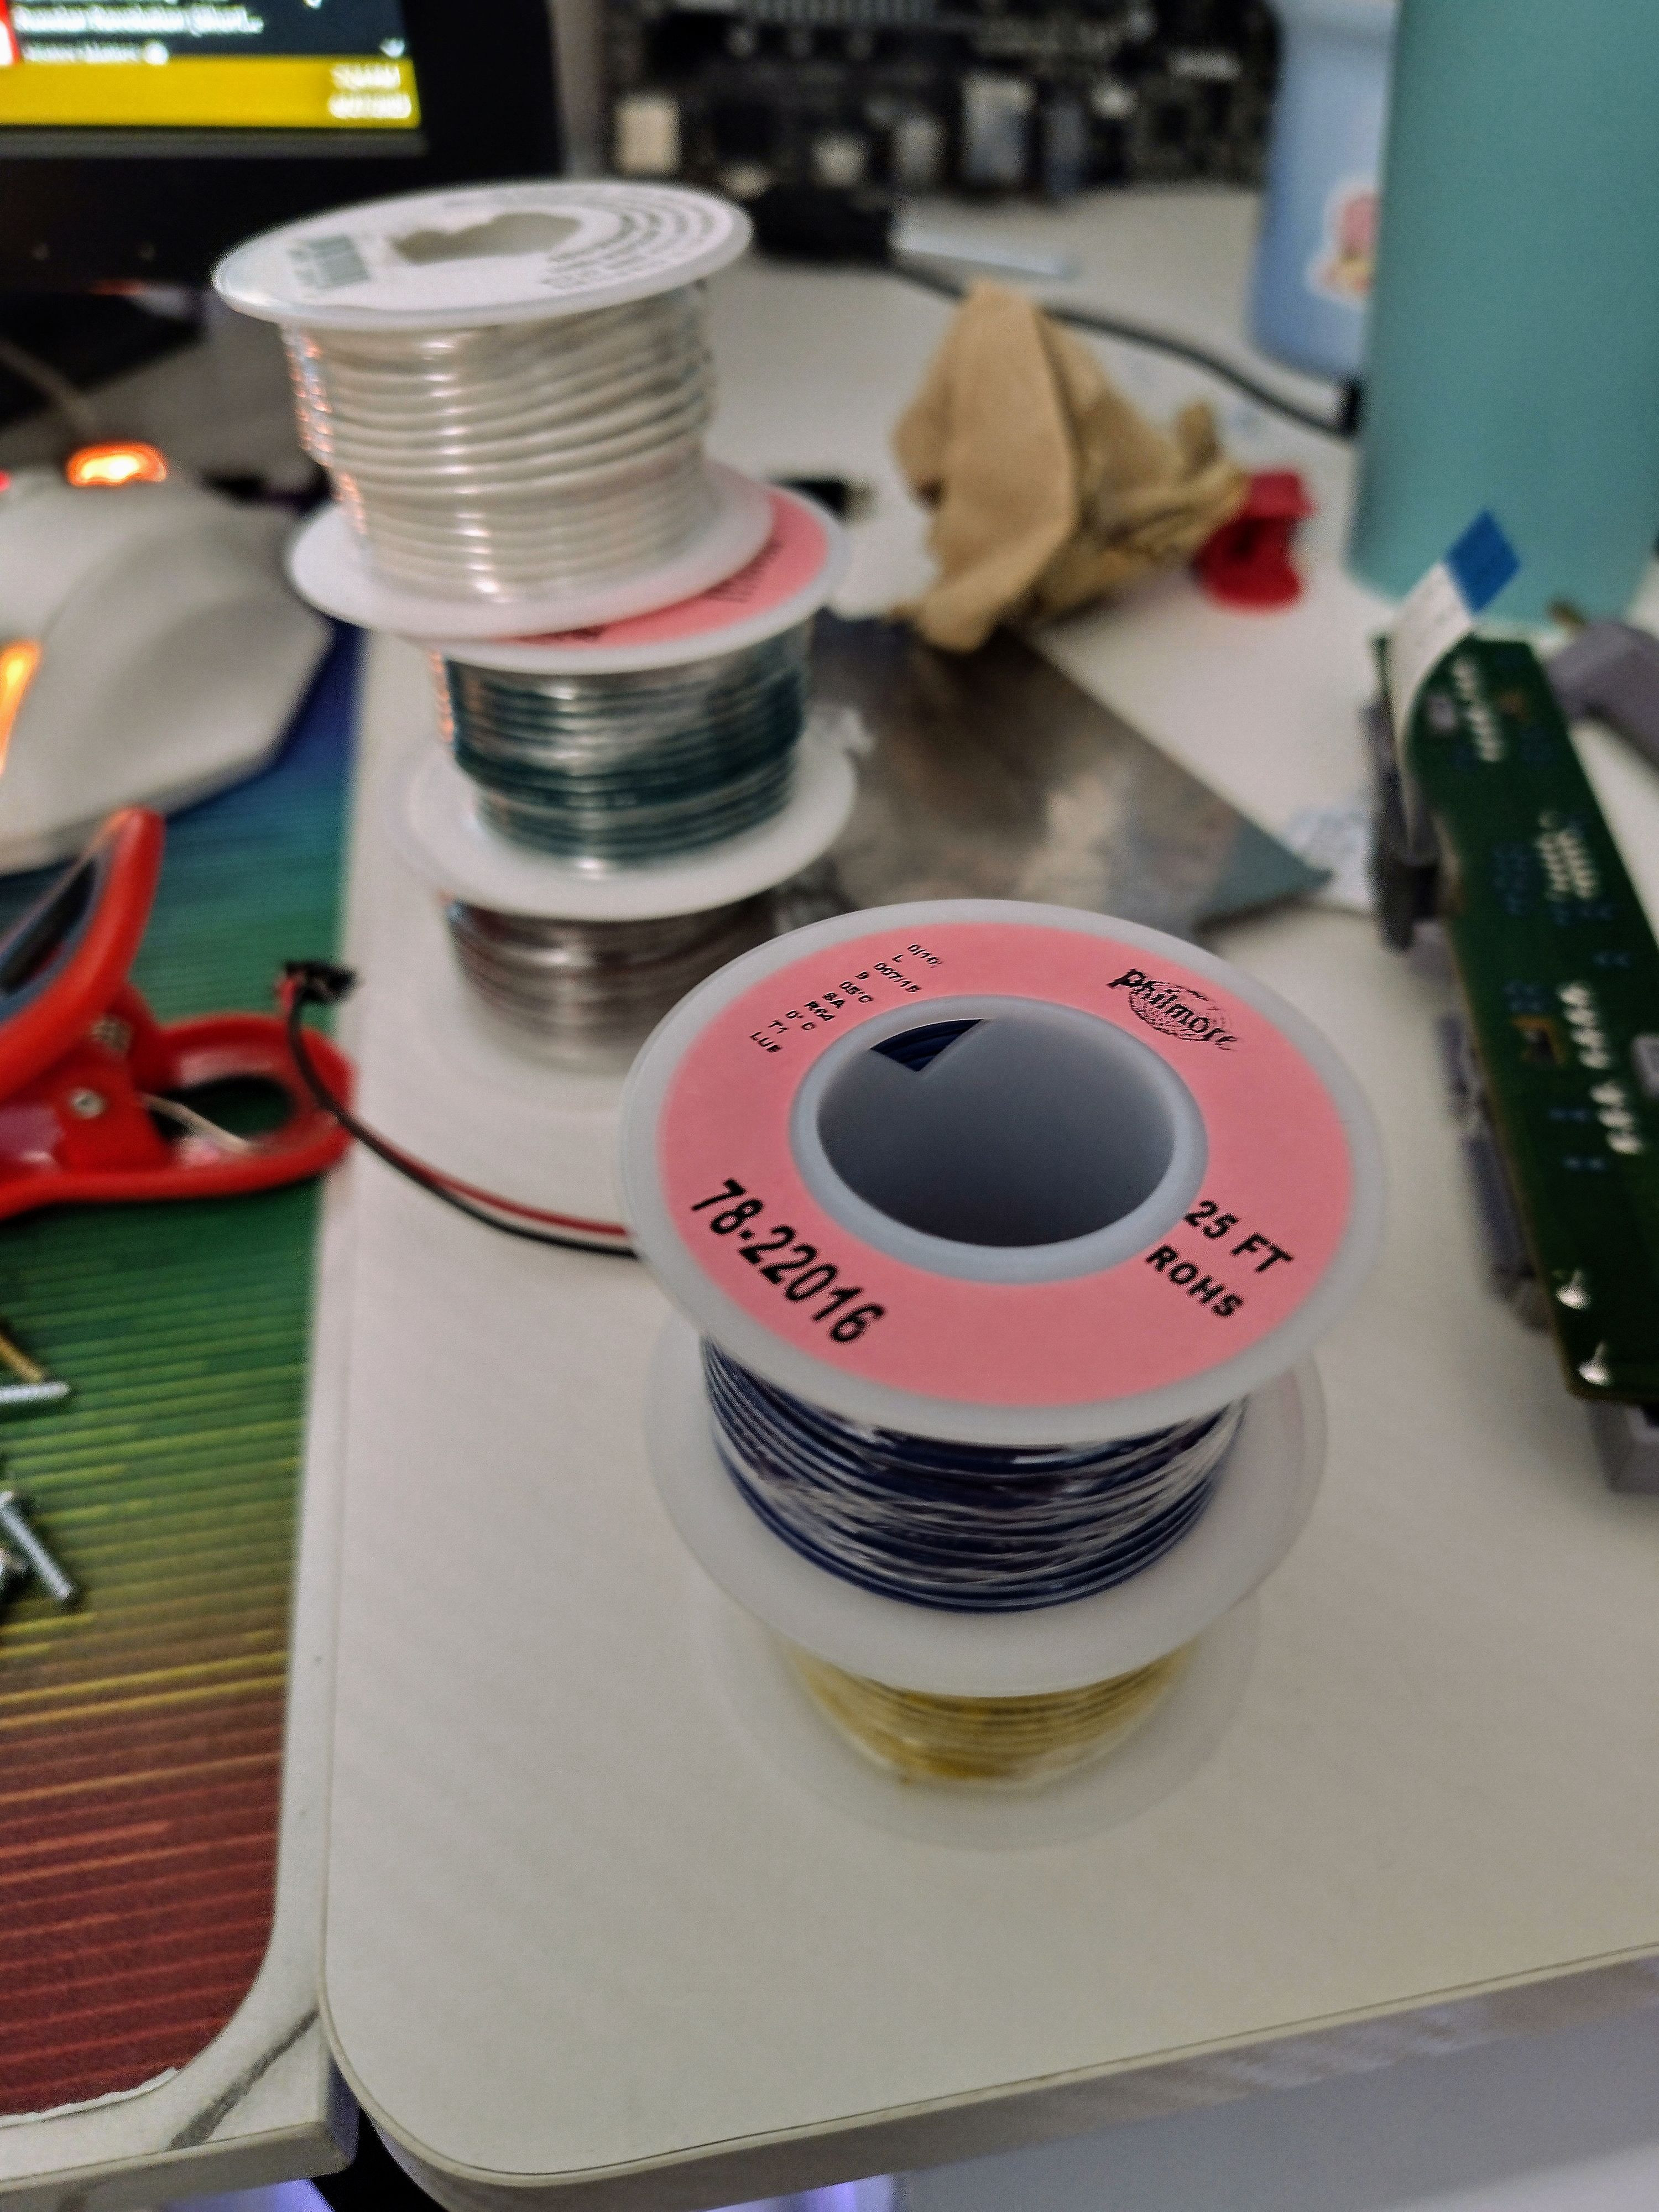
Managed to source most of the components and bits I was needing to do the mod from a local electronics shop, so that was a huge plus. Honestly I’m at the point that the less dependent I am on Amazon to fulfill an order, the better. Some $84 later…
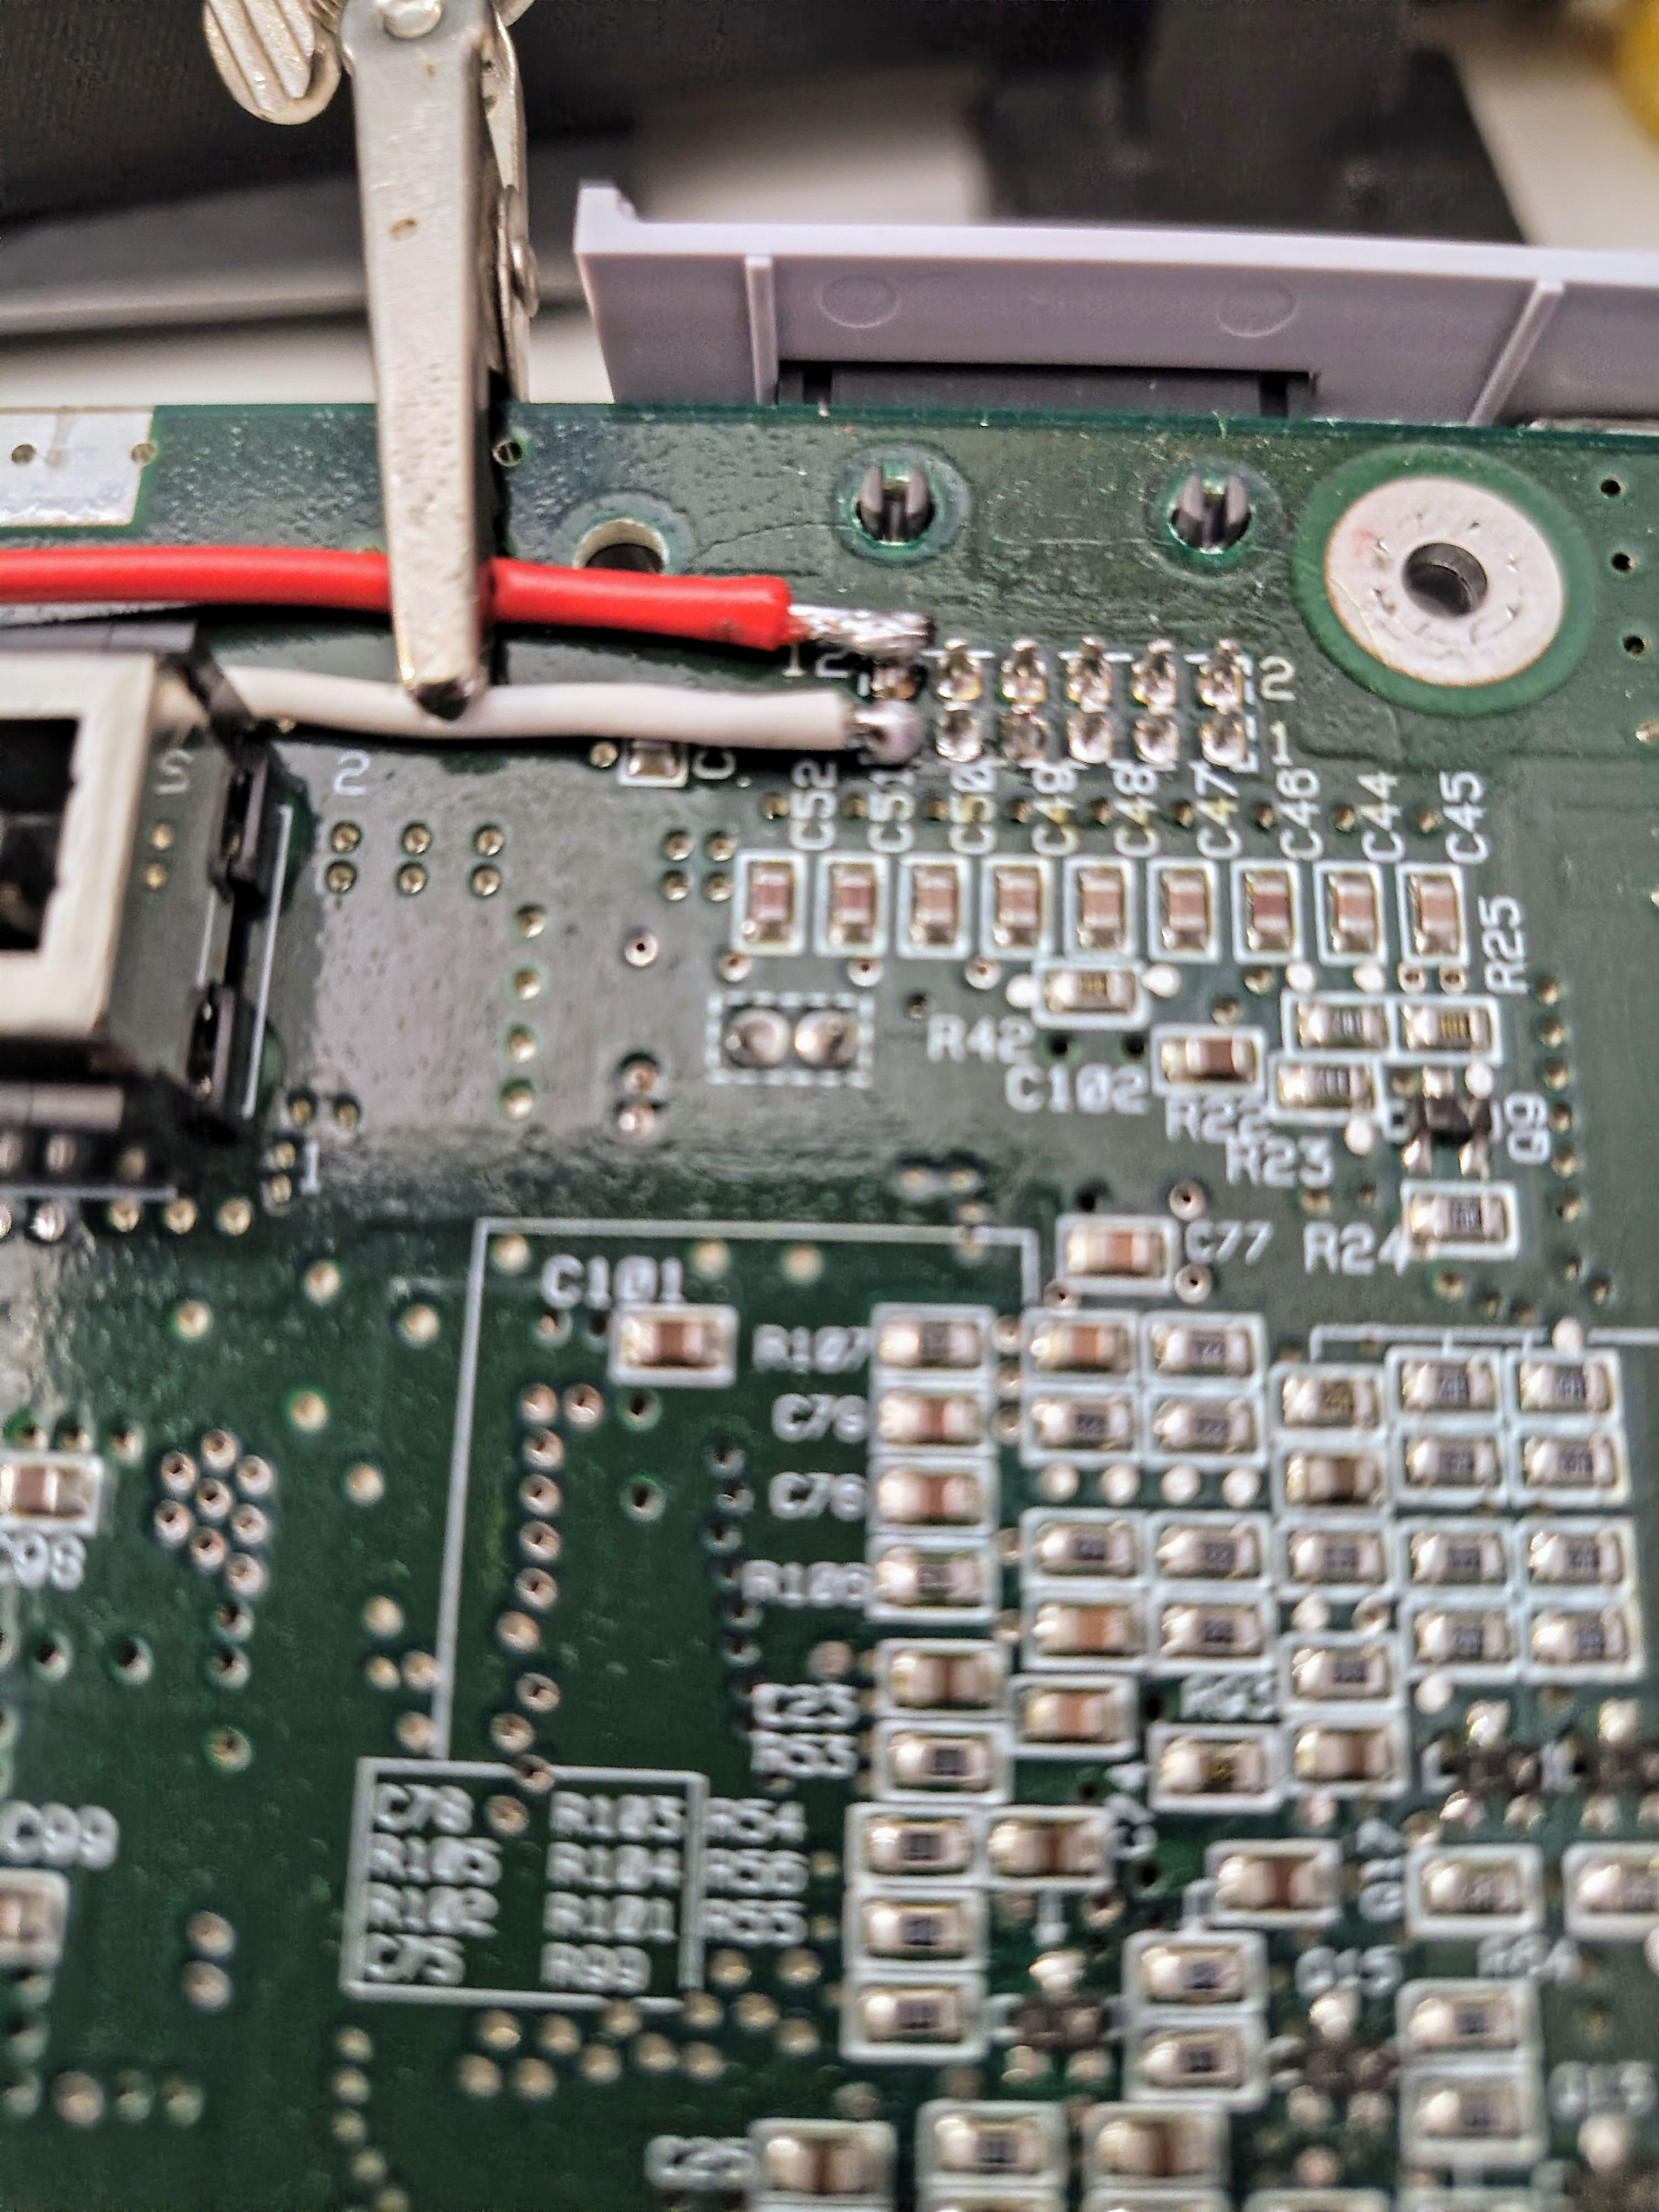
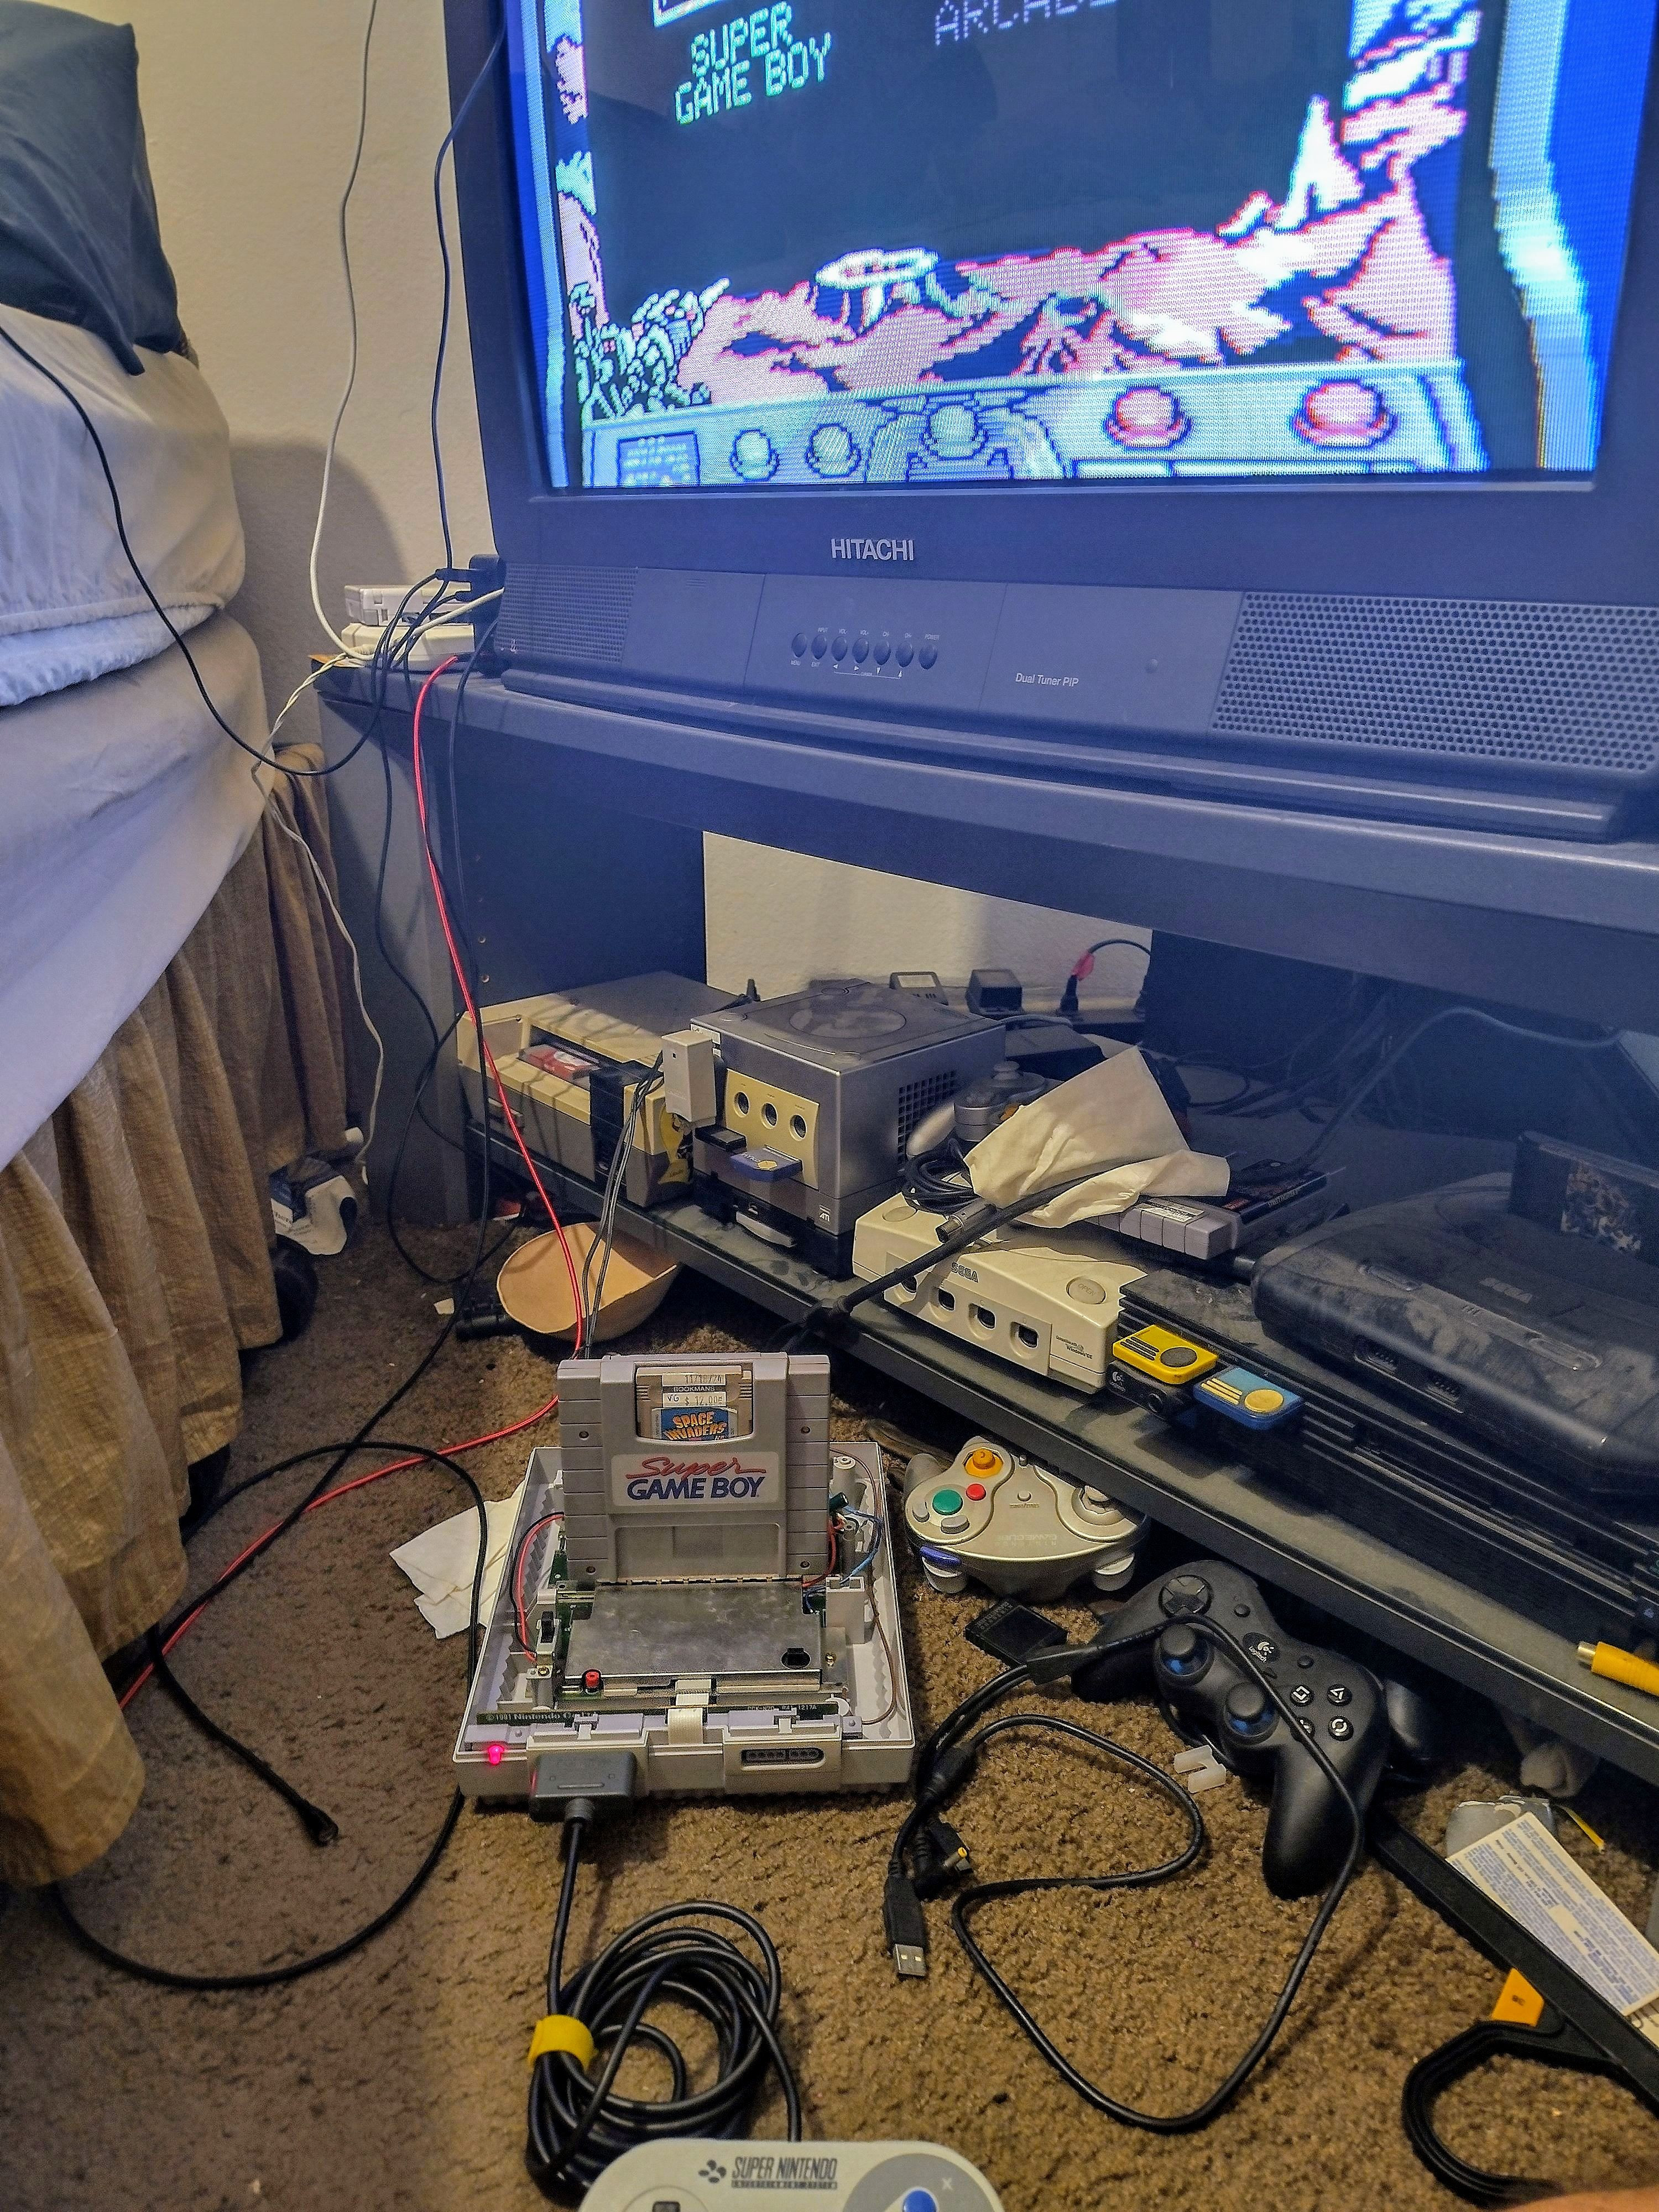
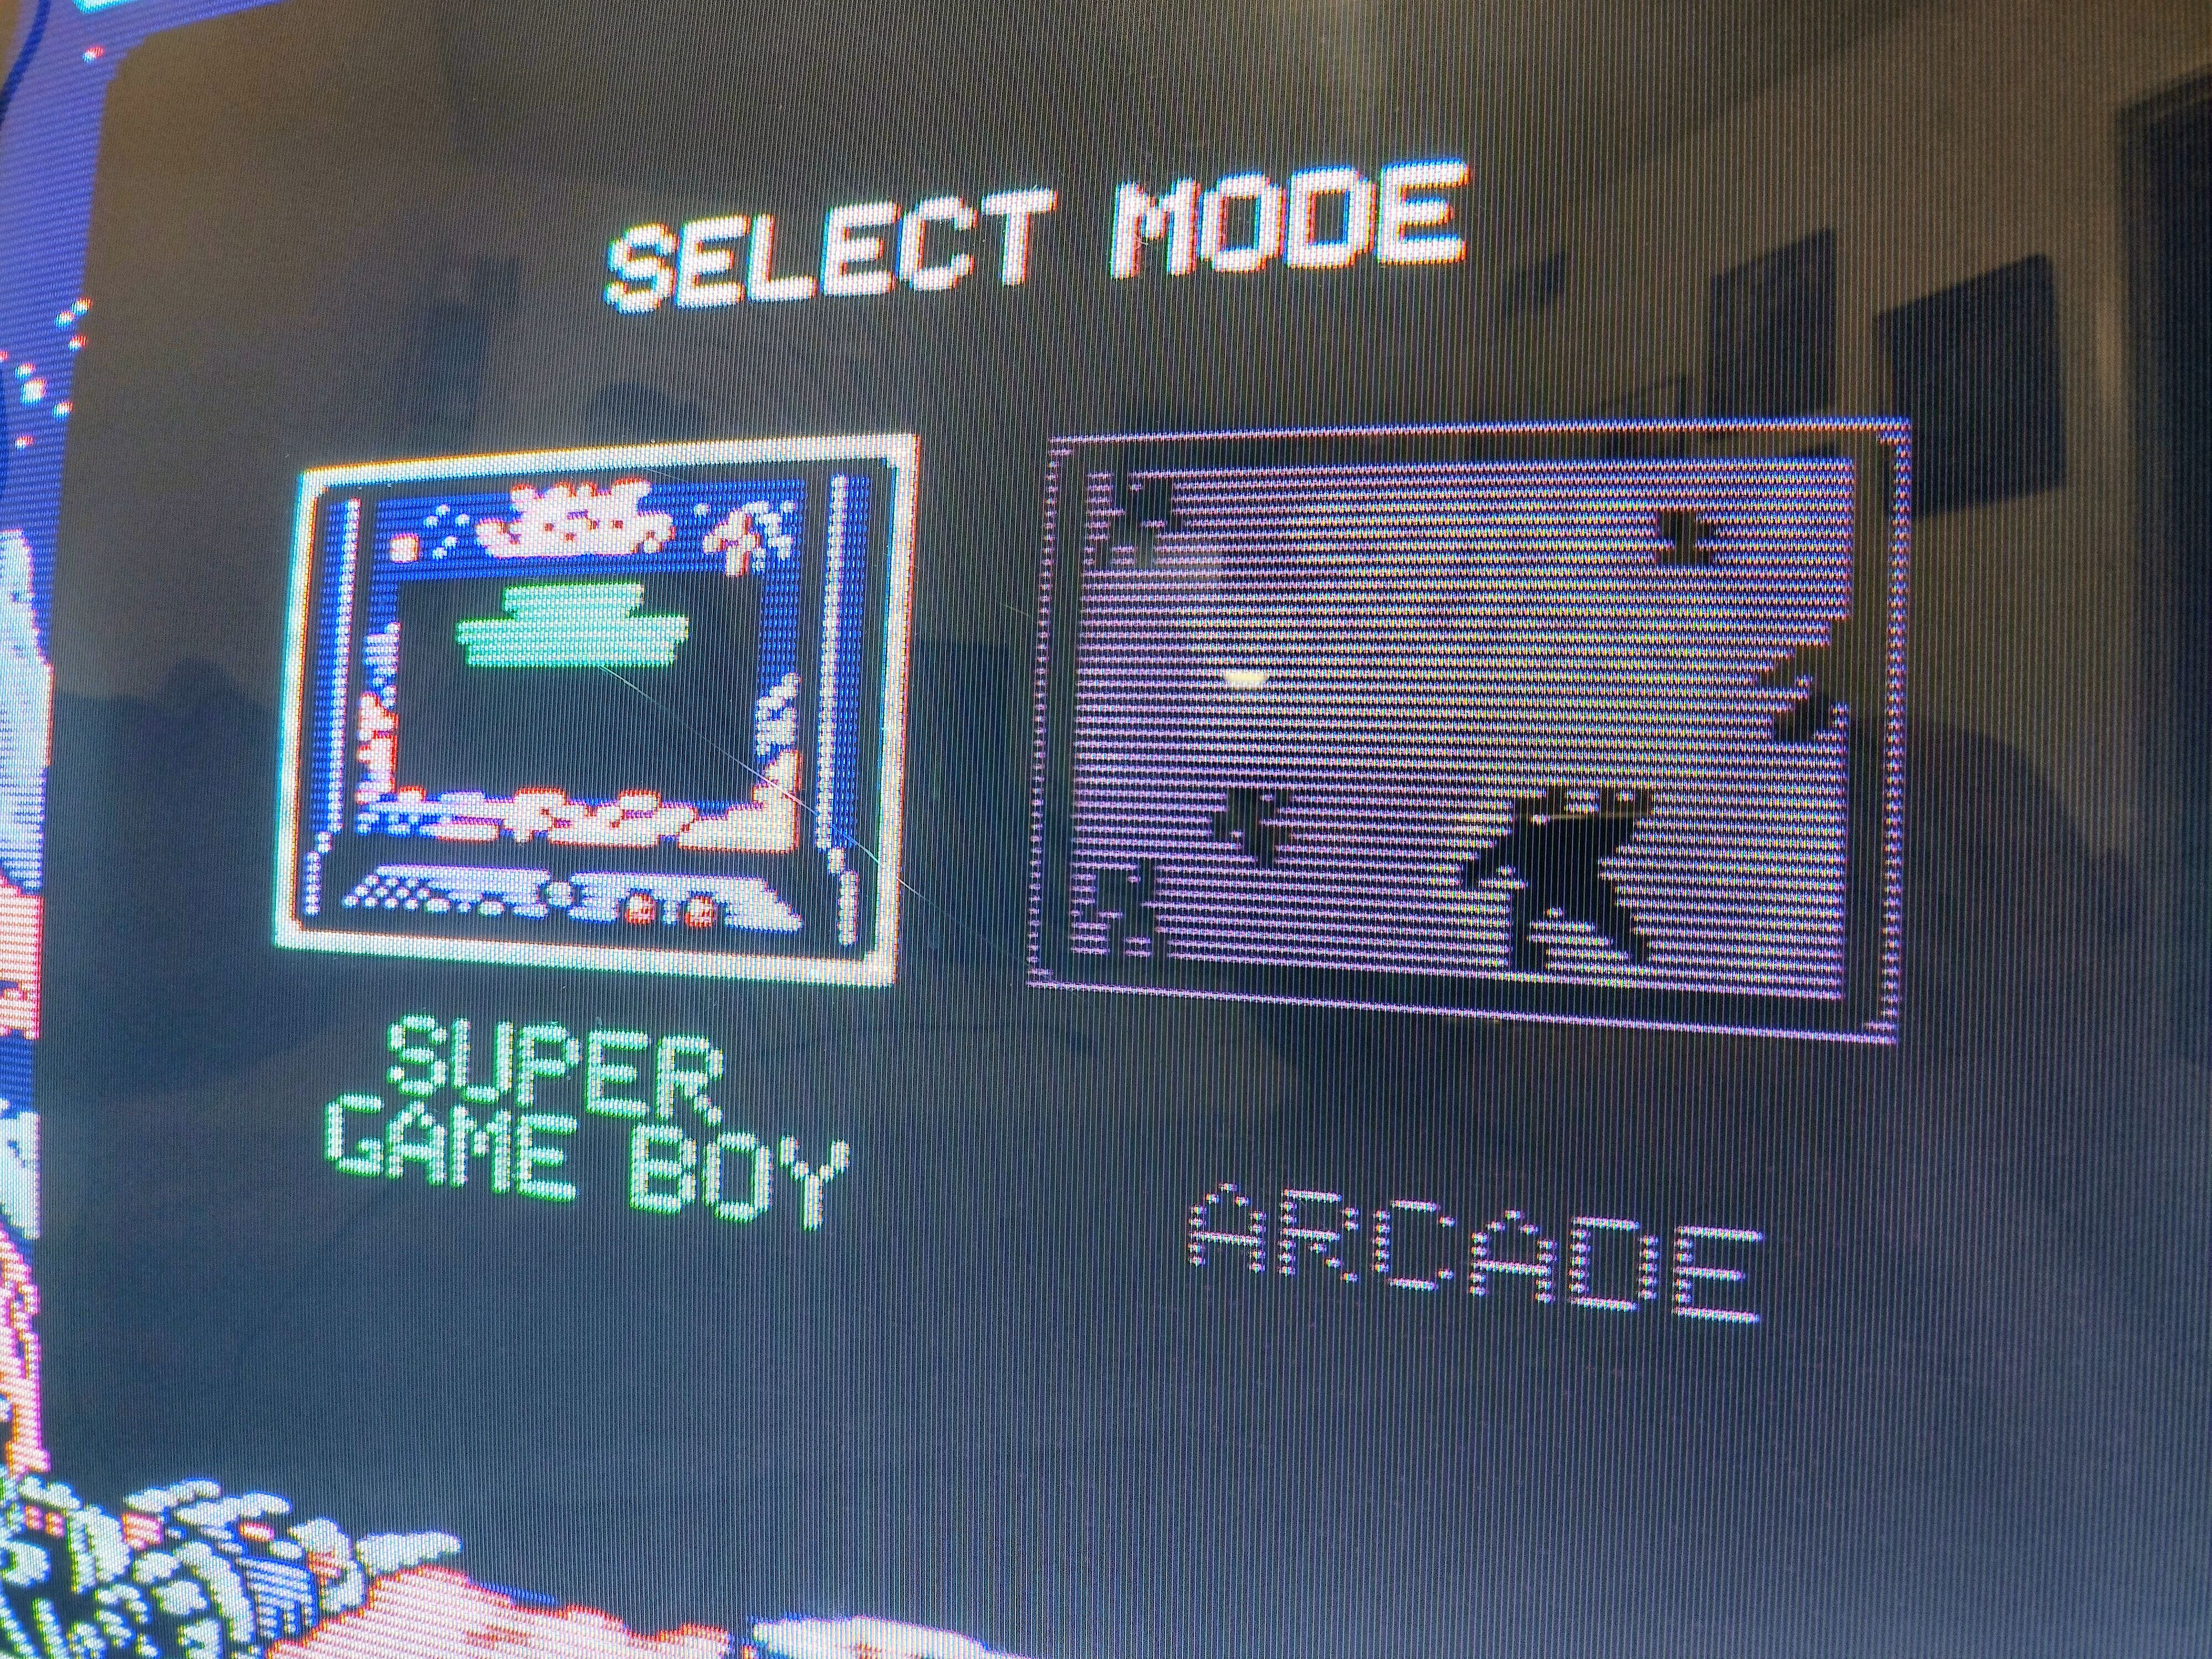
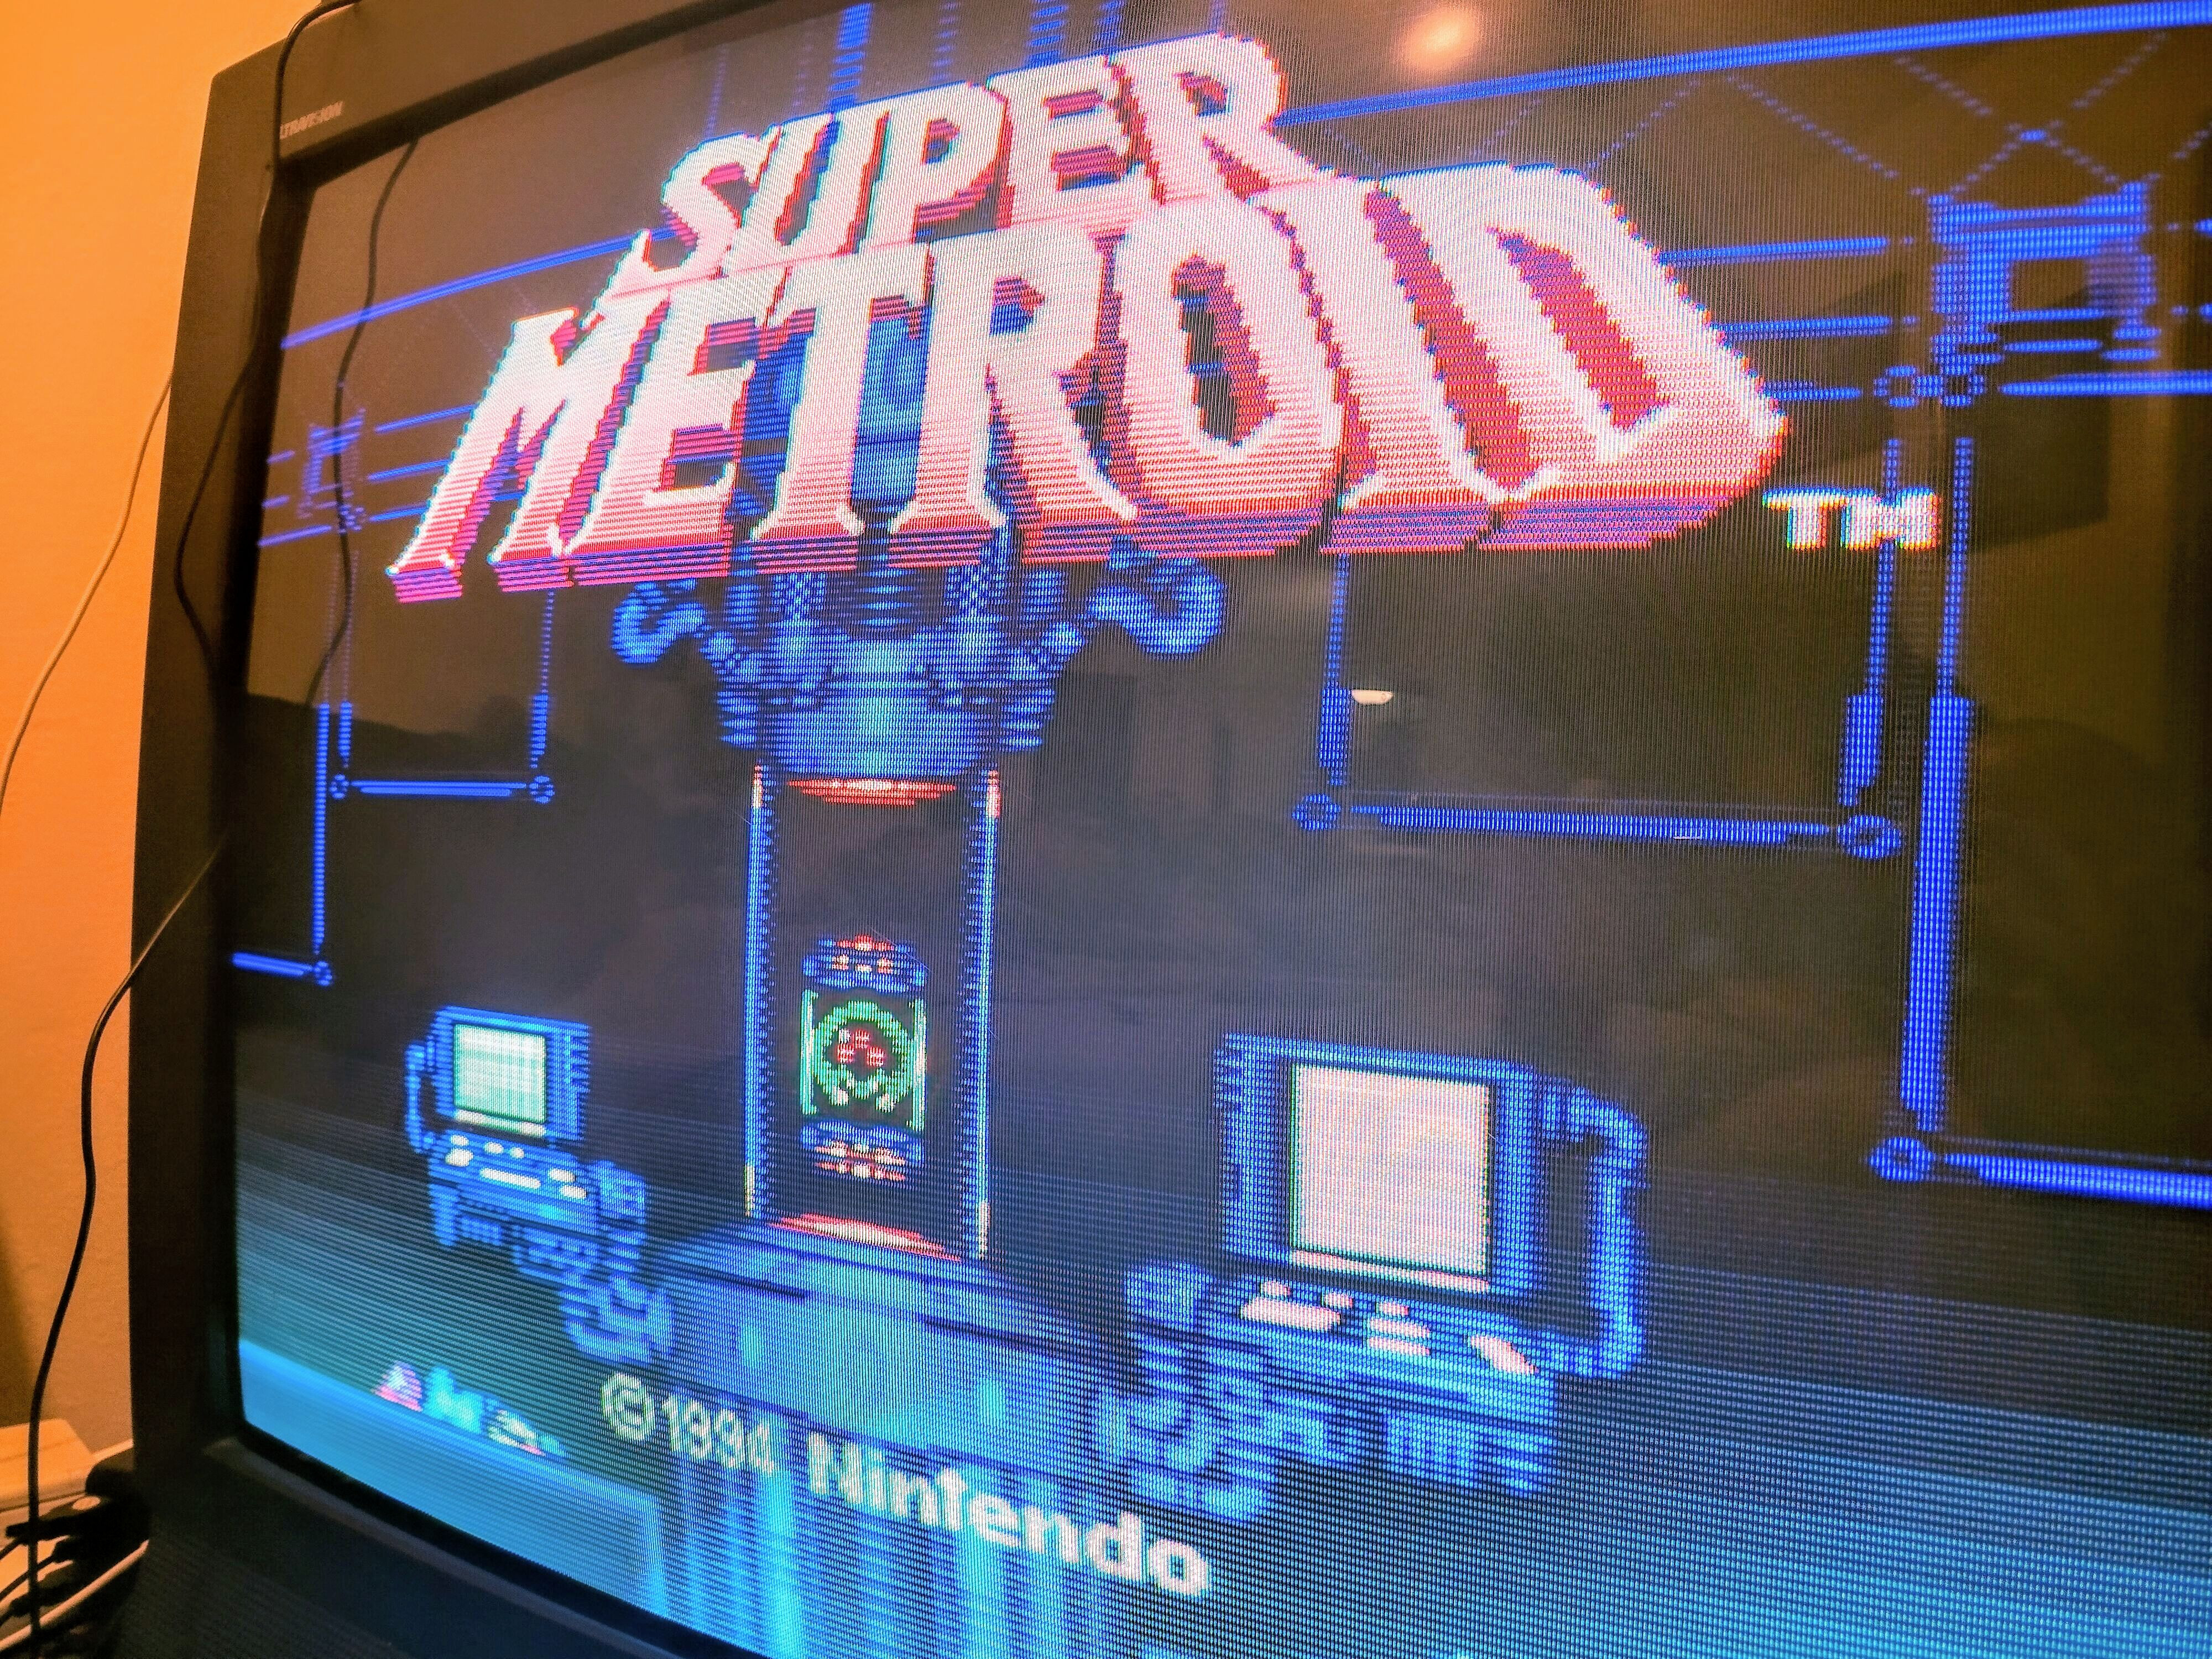
Got to a point where, I was ready to test the mod(s) like the Redditor did. At first I plug in, turn the system on with a game, and… I can hear audio, but get no video. Plug in the wife’s S video cable for the console and, video is all garbled. At first I’m thinking I ruined it. However, checking over my work, I notice the wire for the 🟢 video had some excess and touching a neighboring pin. Snip that excess with some flush cutters, and… The fallback s video cable works again. The (Y) signal test is more gray than green, but it is SUPER crispy sharp on the CRT. Success!
The snafu…?
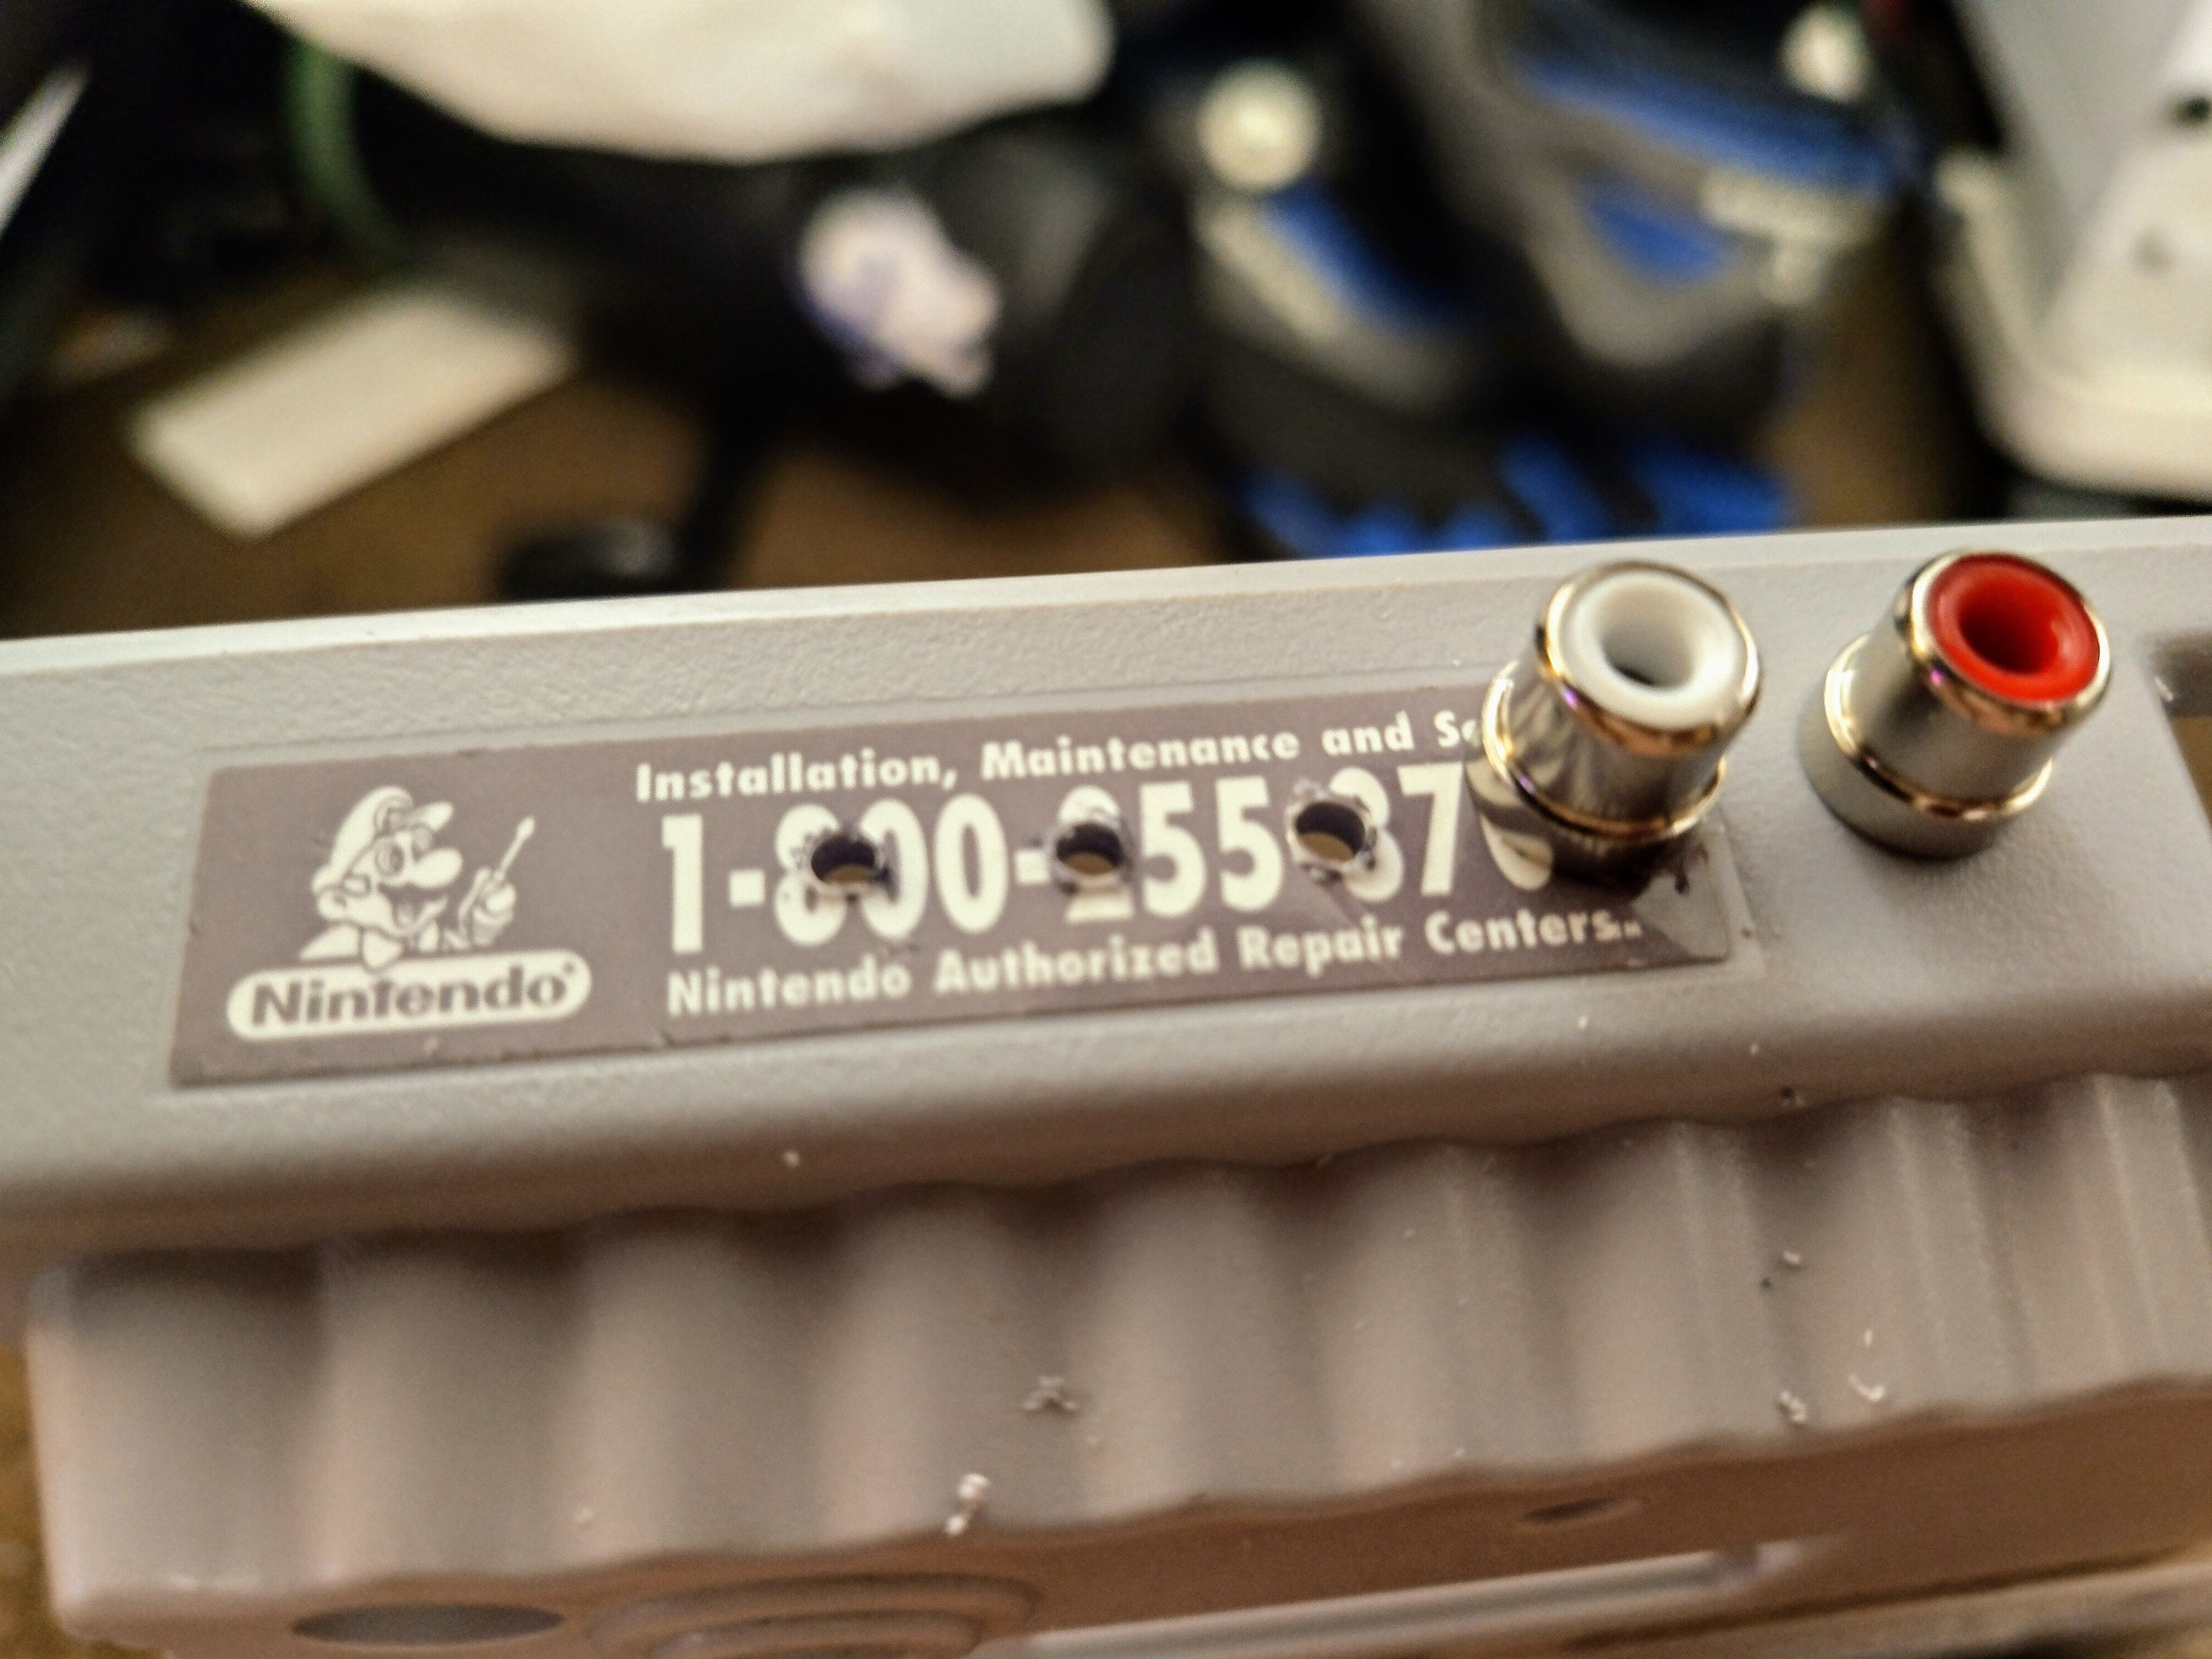
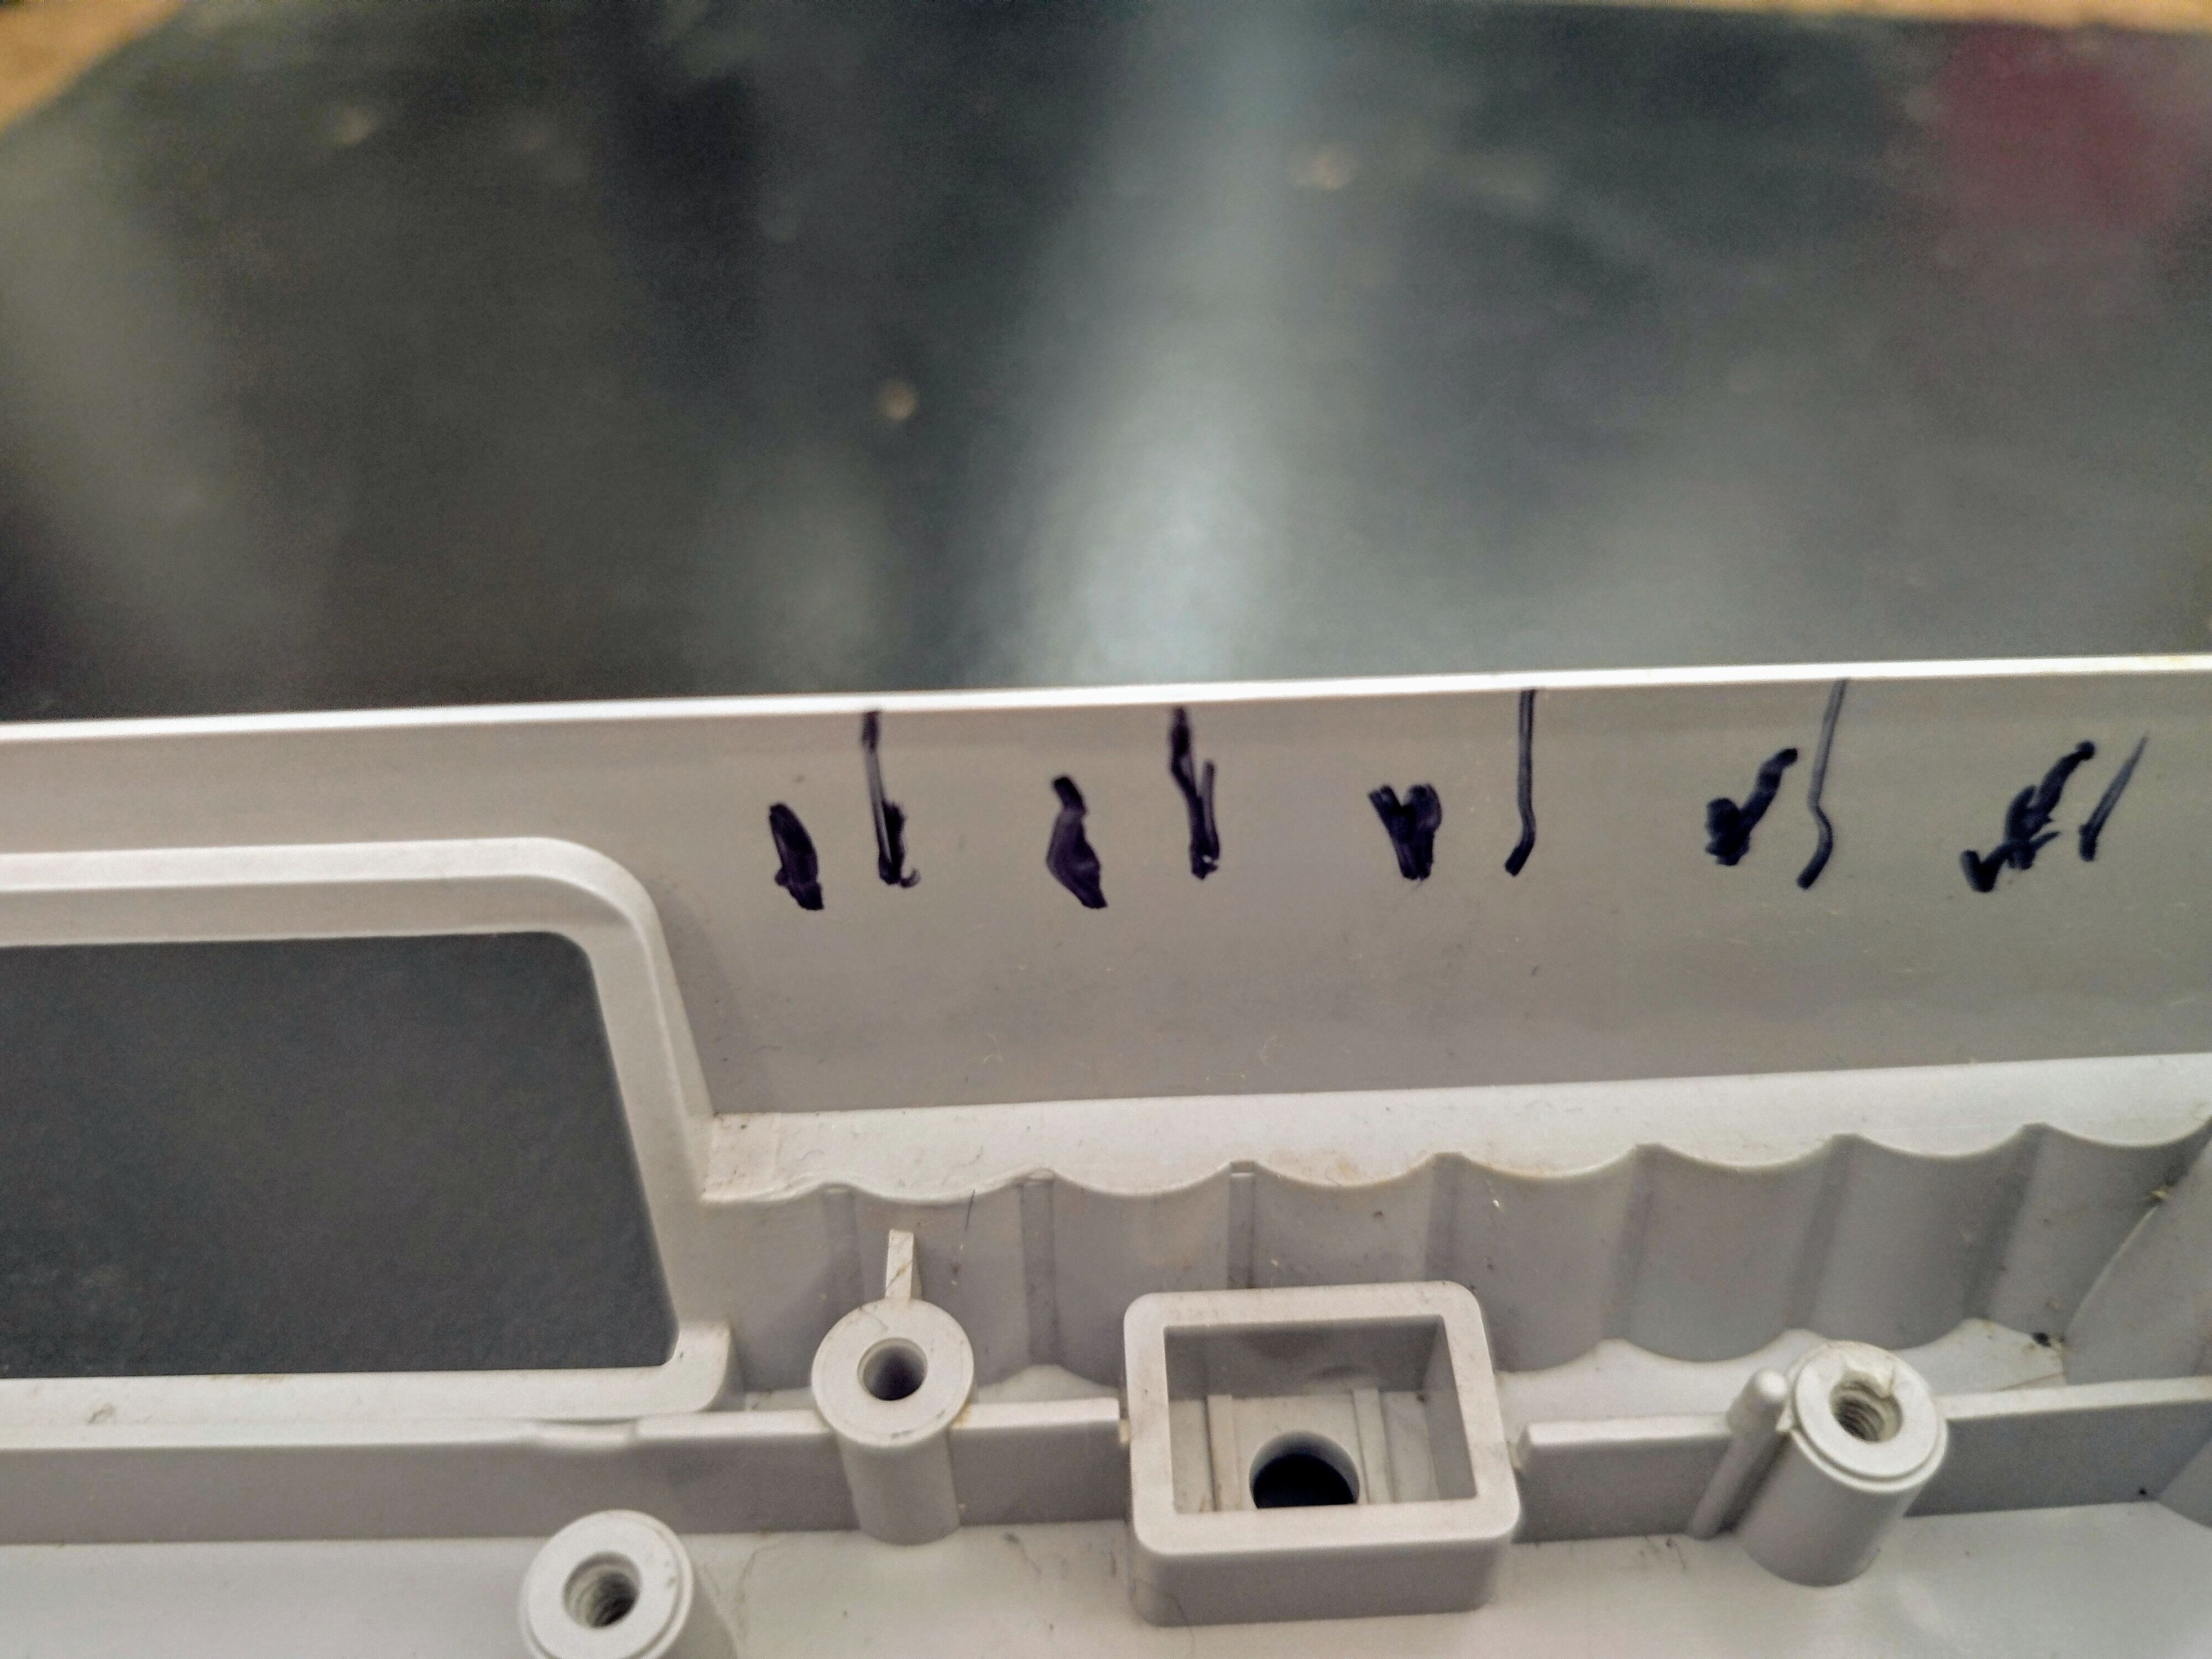
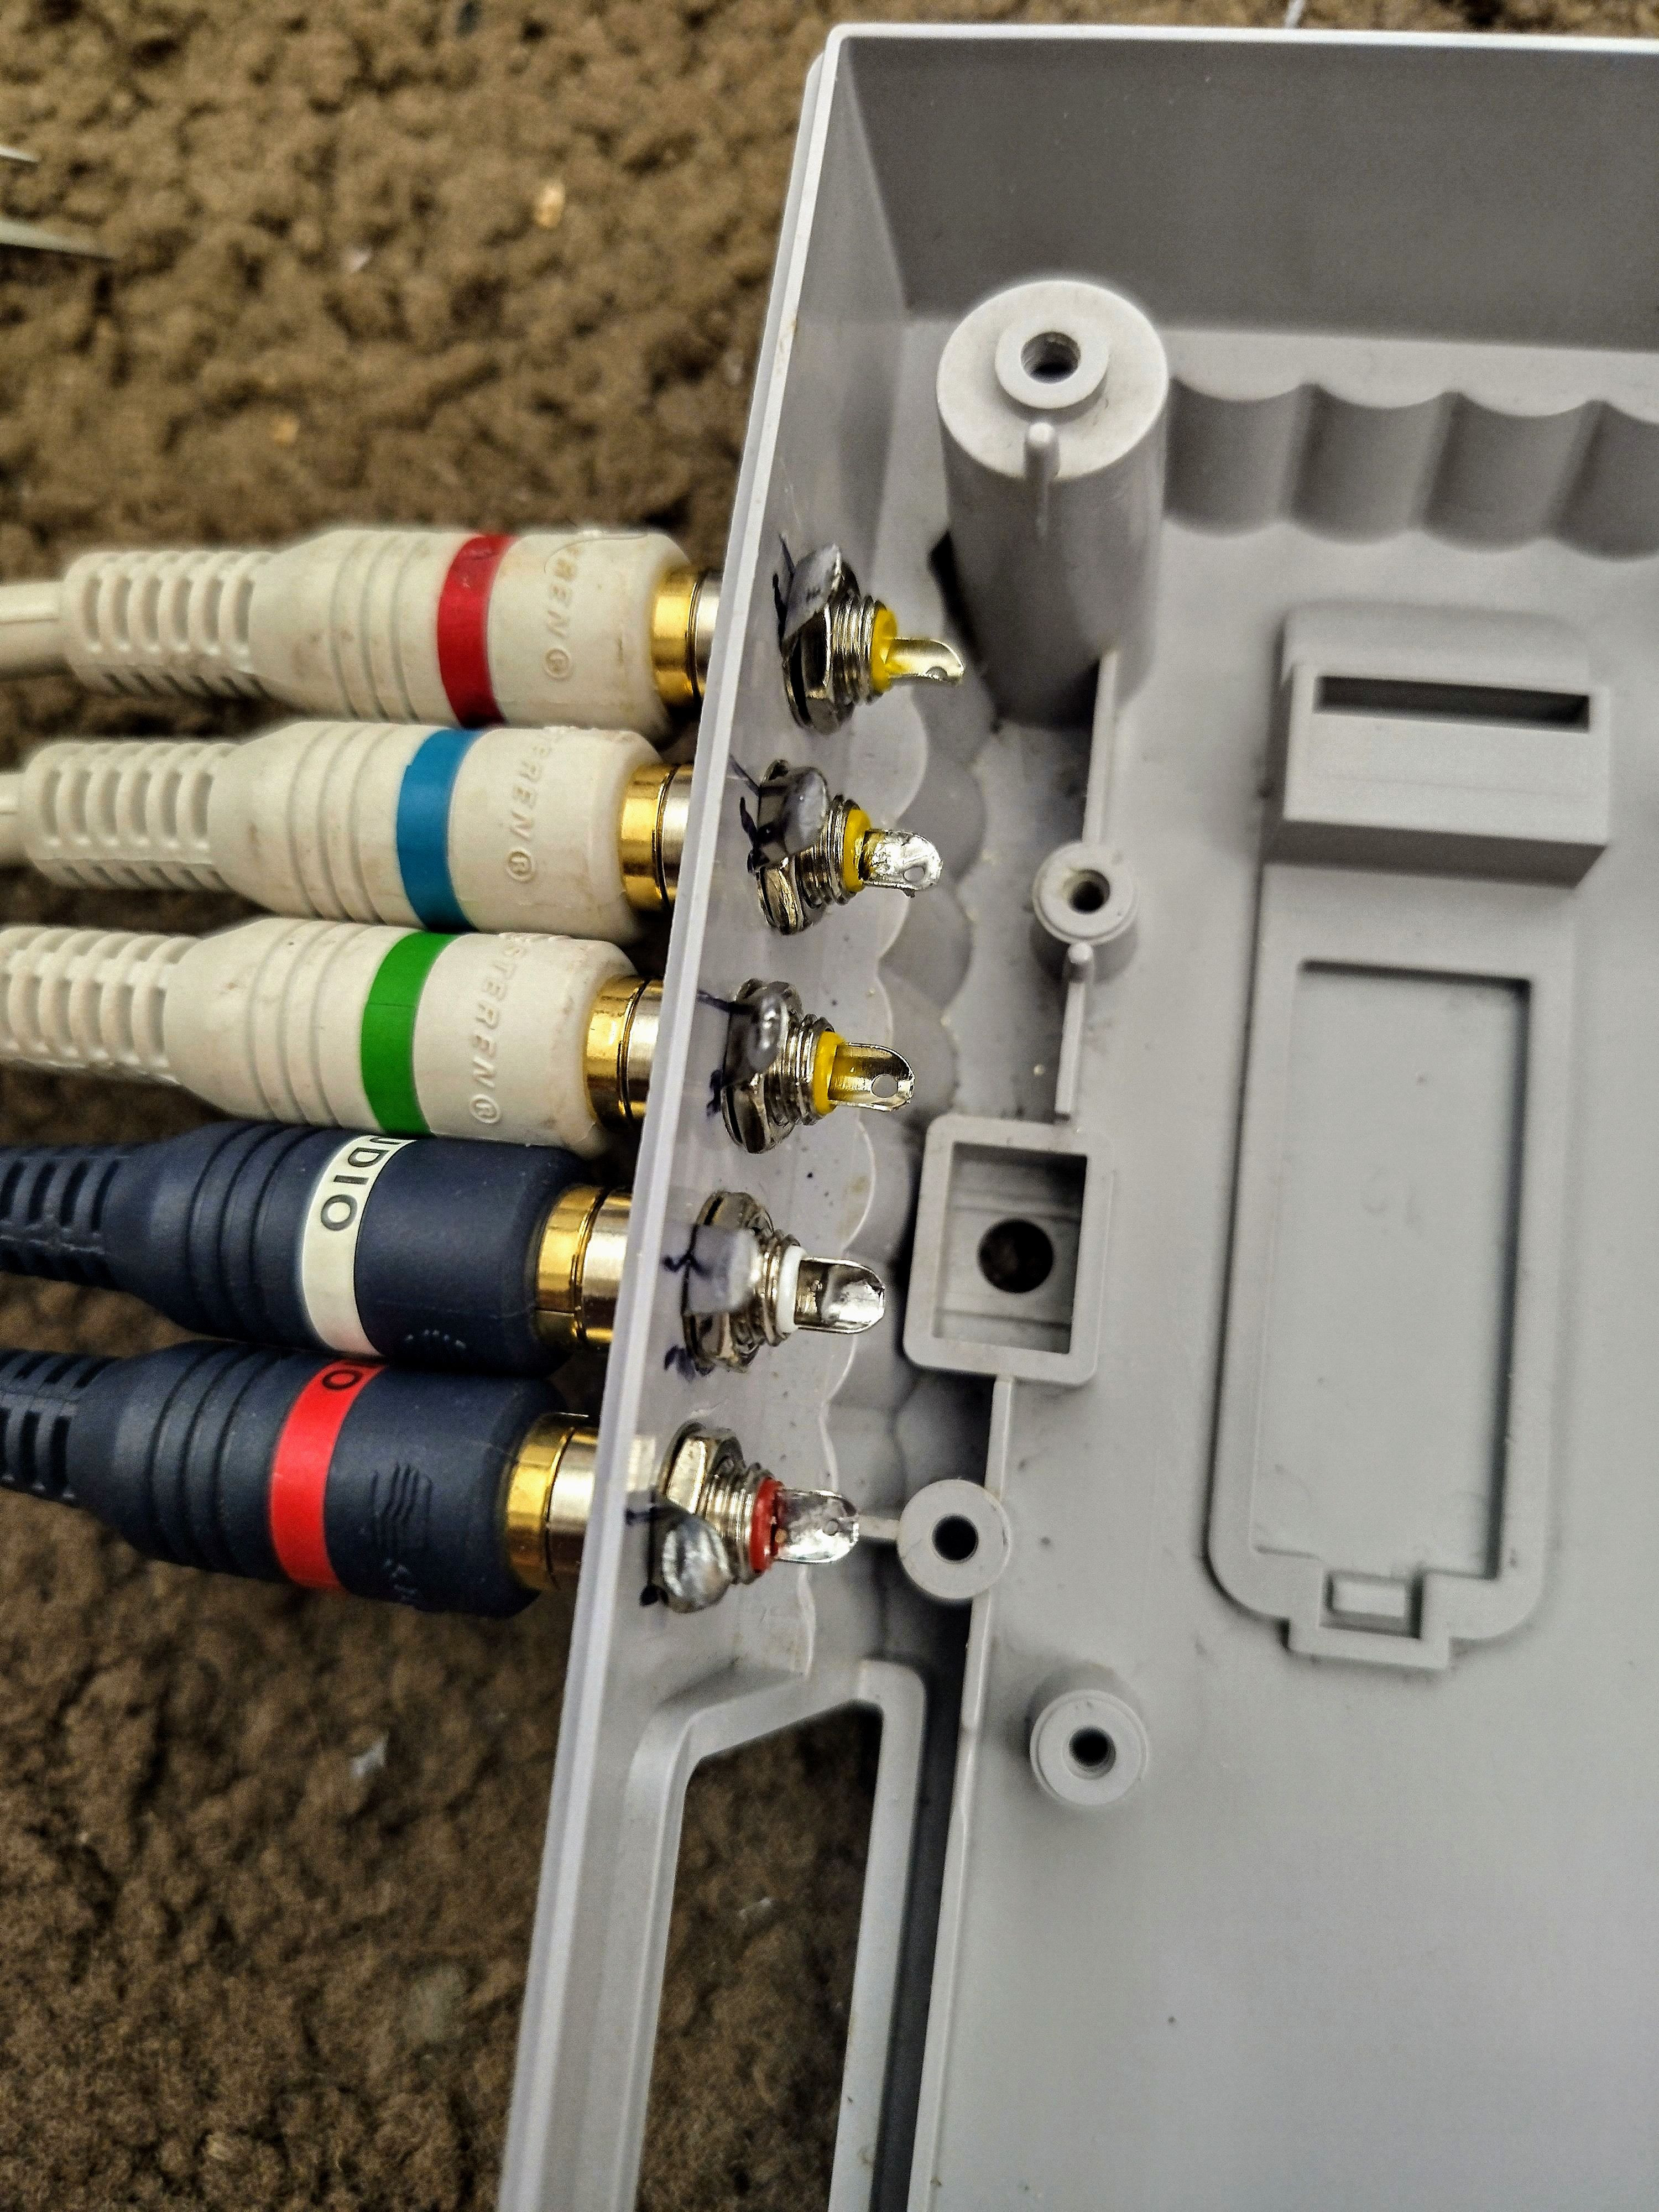
Uhm, I cut the holes for the cables too close together, particularly for the video. As in, I physically couldn’t plug in the remaining cables in. Oops.
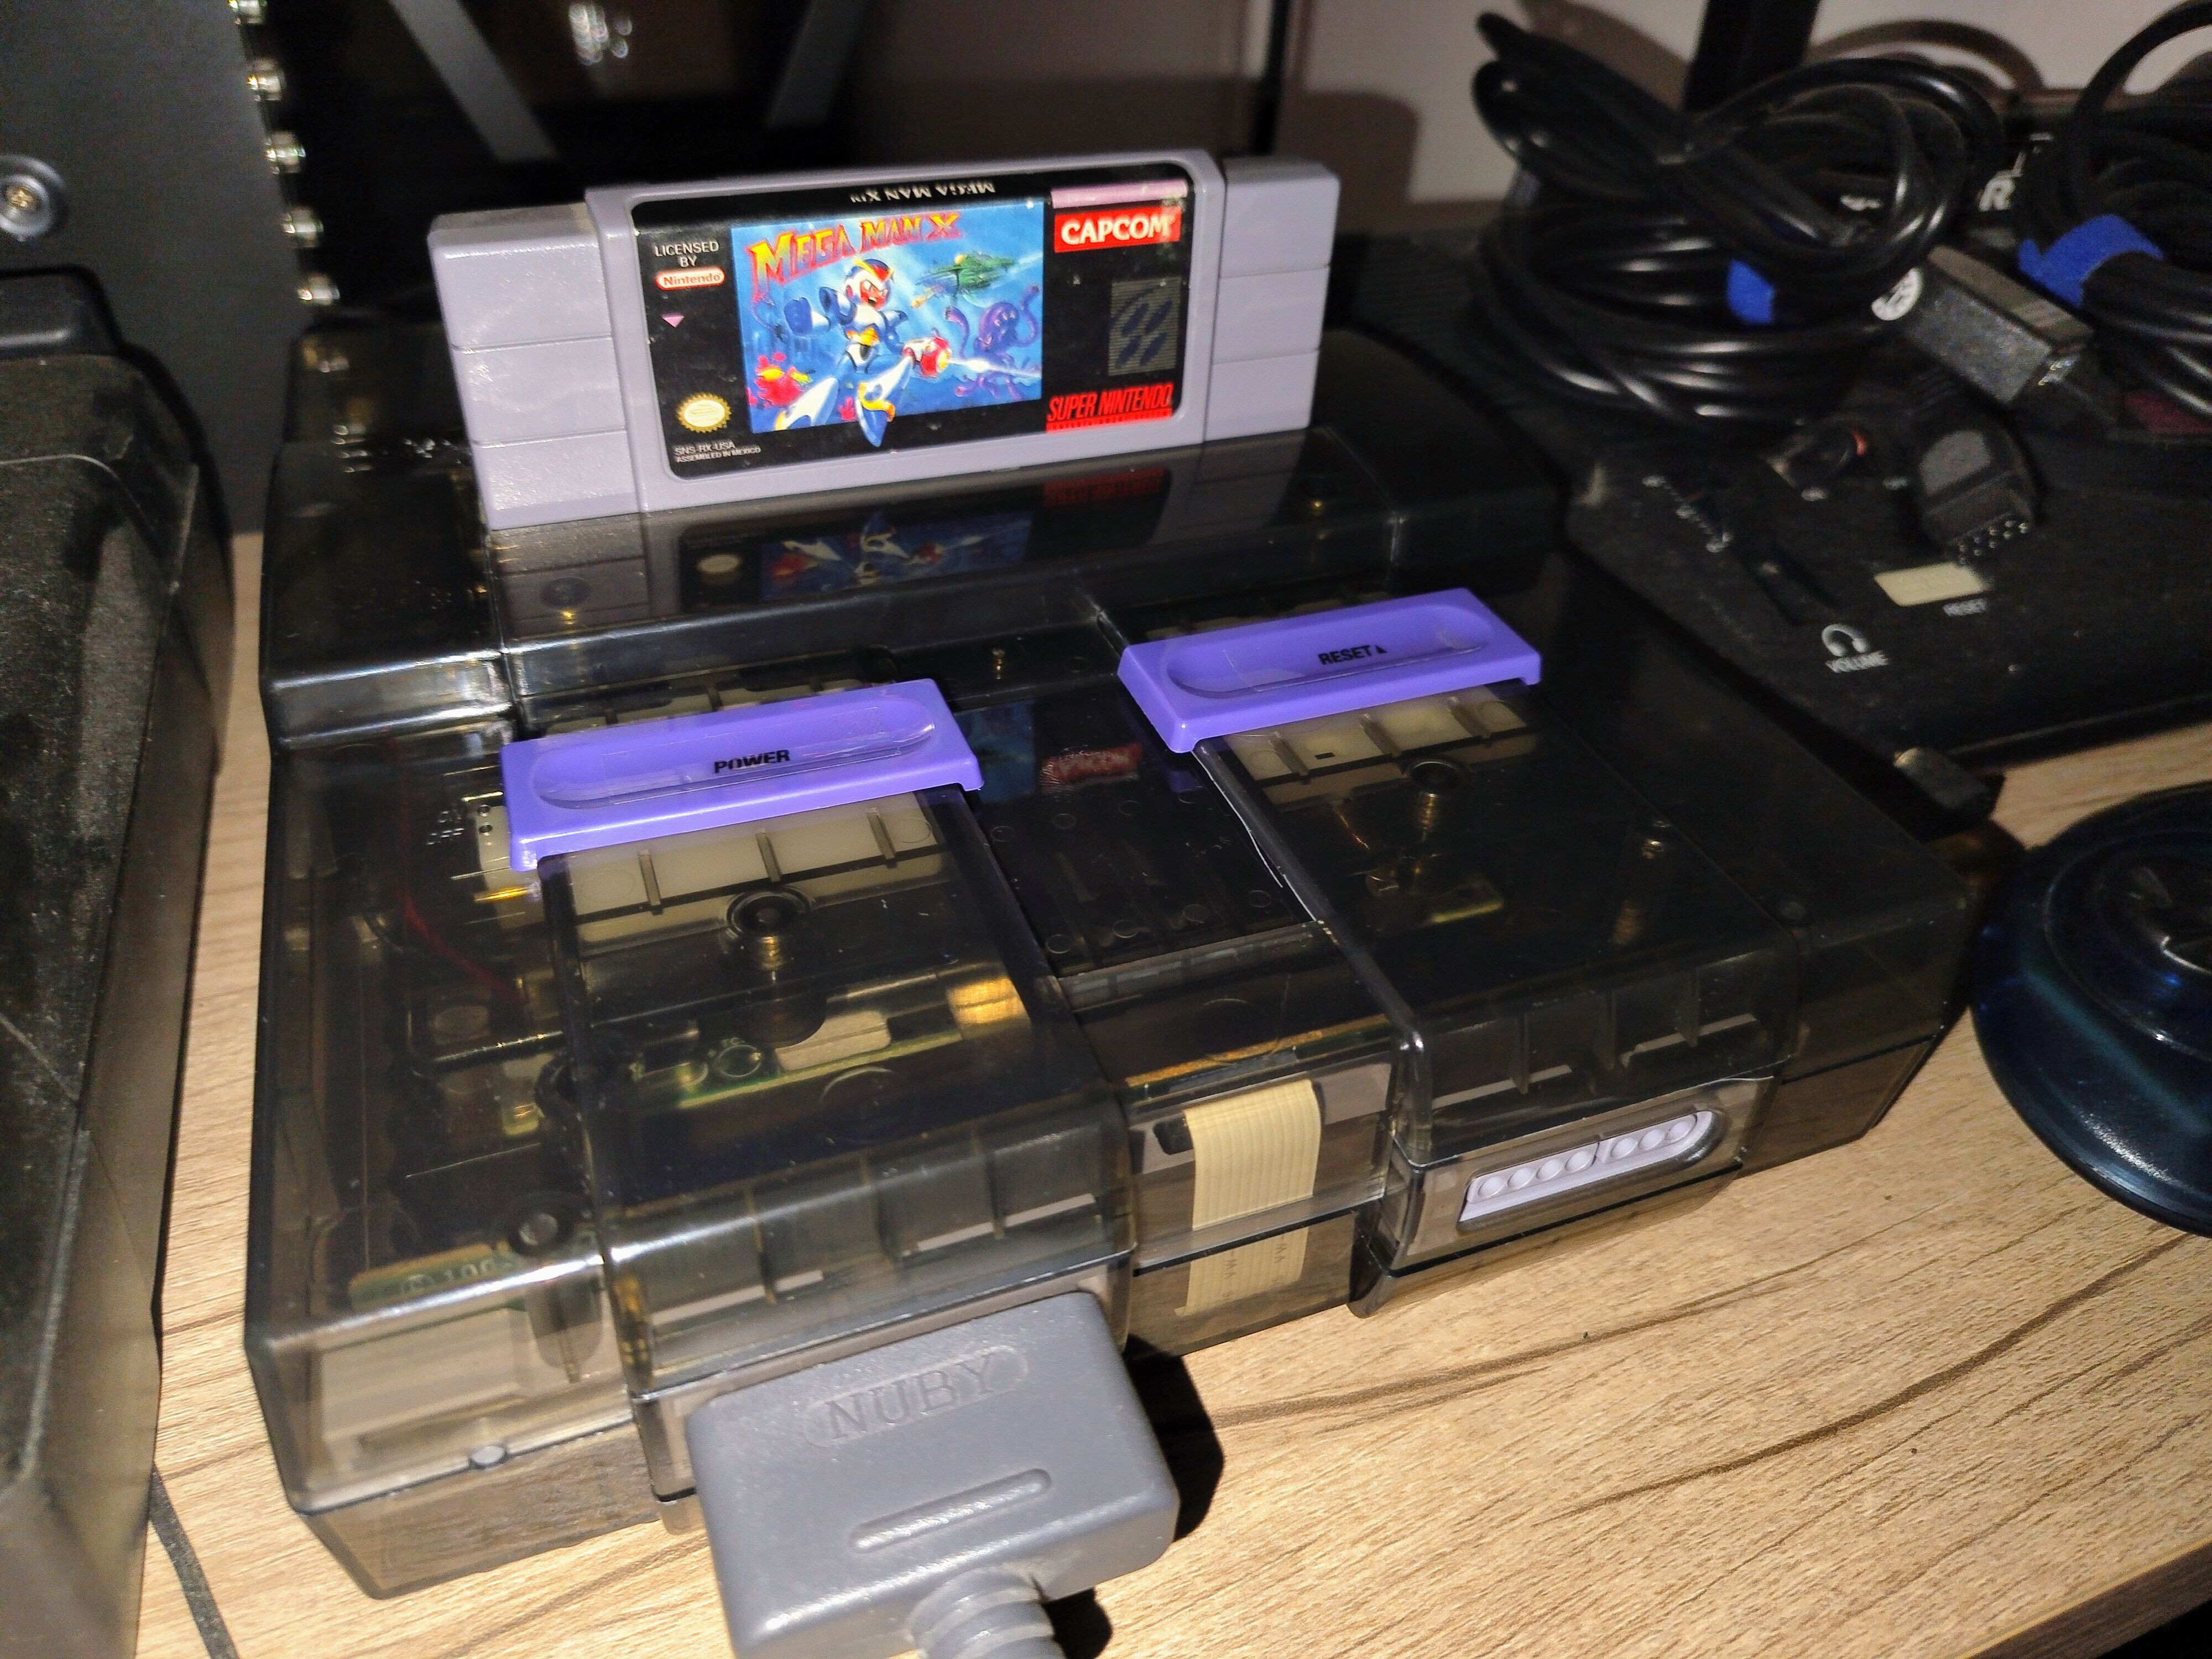
Disappointed it’s costing me more than anticipated, but if all I have to do is order a replacement shell to try again? It’s encouraging that this could indeed work out nicely.